What Is a Favicon and How to Easily Create One
Introduction to Favicons
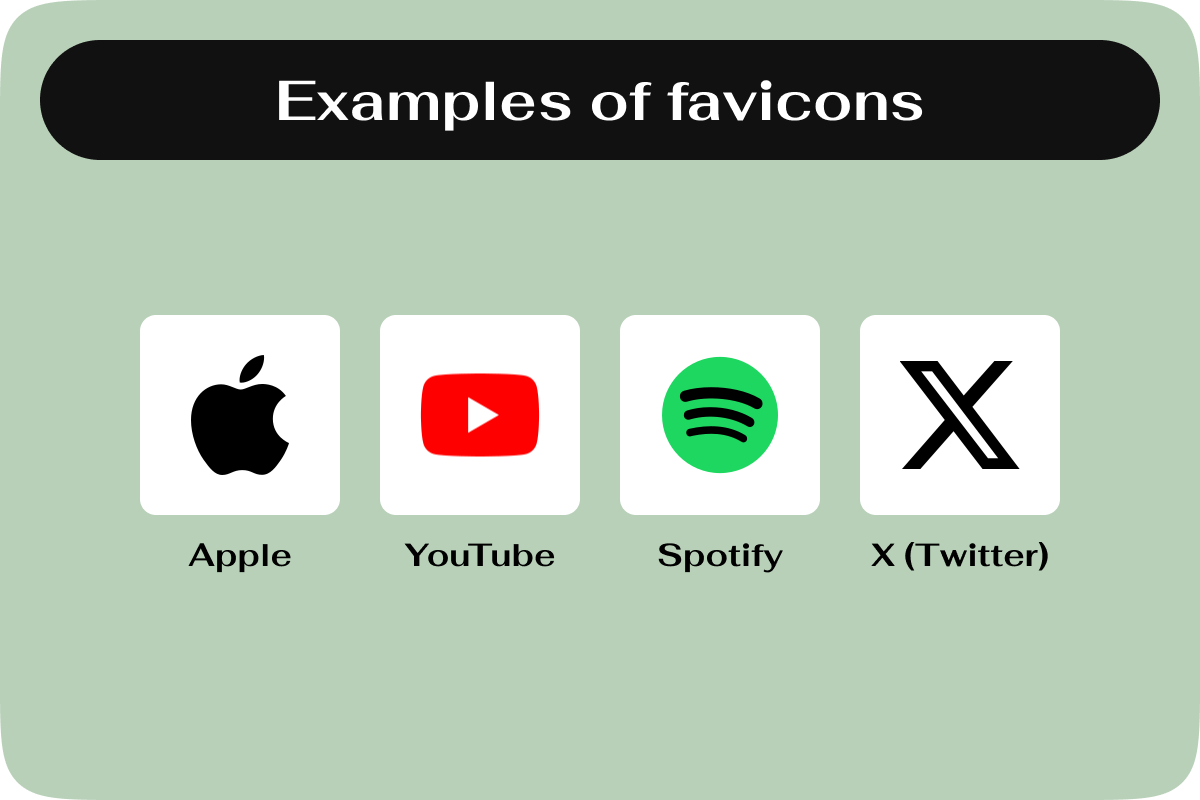
Favicons, those tiny images on browser tabs, are like the digital fingerprints of websites. They’re small – usually 16×16 pixels – but play a big role in your site’s identity online. Imagine them as a visual shorthand for your site, making it instantly recognizable amidst a sea of browser tabs and bookmarks. Favicons aren’t just limited to being tab icons; they also pop up in your browsing history, bookmark lists, and even as miniatures on search engine results.
This mini-icon might seem like a small detail, but it’s your site’s constant companion across the web, especially in places like Google Chrome’s homepage. It’s interesting to note that favicons go by many names – including shortcut icon, tab icon, and URL icon – which speaks to their versatile role in enhancing user navigation and site identification.
Crafting a favicon means creating a small yet significant marker for your website, one that guides users to your digital doorstep with a visual cue. It’s a blend of branding and practicality, neatly packed into a pixel square.
The Evolution of Favicons
The favicon, a small yet impactful icon, symbolizes a website’s essence on web browsers and has significantly evolved since Microsoft first introduced it in 1999 with Internet Explorer 5. Originally a 16×16 pixel icon in ICO format placed in the root directory of a website, favicons have expanded in utility and format, serving not just as a branding tool but also enhancing the user’s navigation experience across browser tabs, bookmarks, and history.
Today, favicons adapt to various digital environments, from desktop browsers to mobile screens, reflecting the dynamic nature of web design. Their evolution from simple icons to multi-purpose web elements showcases the innovative progression of internet technology, making them an indispensable part of the modern web experience.
Why Favicons Matter
Favicons might be small in size, but their impact on your website’s effectiveness is huge. These little icons are like the flags of your digital domain, serving multiple crucial roles that collectively enhance your website’s presence and user experience. Here’s a breakdown of their significance:
- Boosting User Experience: Favicons act as visual guides, helping users swiftly navigate through a plethora of browser tabs to find your site. They’re especially handy on mobile platforms, where screen space is at a premium, making it vital for your site to be easily recognizable at a glance.
- Strengthened Branding and Visibility: By extending your brand’s visual identity to the browser itself, favicons make your website feel more professional and cohesive. This consistent branding across platforms solidifies your online identity, making your site more memorable.
- Elevating Trust and Credibility: Favicons might not directly secure your website, but they do give off an aura of authenticity. They reassure visitors of their location, promoting trust. This perceived legitimacy is crucial for encouraging repeat visits and fostering a loyal user base.
Incorporating a favicon is a straightforward yet effective strategy to distinguish your site, enhance user experience, and strengthen your brand identity. It’s a small step that can lead to significant gains in how your website is perceived and interacted with in the vast digital landscape.
A Guide to Favicons
Creating a favicon, your website’s signature icon, is a pivotal step in reinforcing your brand’s identity across the digital landscape. This tiny yet powerful graphic serves as a visual bookmark for your site, enabling users to easily identify and navigate to your webpage amidst their crowded browser tabs.
Designing Your Favicon
Your favicon should be a distilled version of your brand’s logo, echoing your established brand identity without causing distraction. This can be achieved by either working with a professional designer or venturing into design yourself using various available online tools. One noteworthy option is utilizing a logo maker tool, which provides the flexibility to tailor a favicon that truly represents your brand’s essence and requirements. Additionally, exploring free icons or vector illustration tools offered by your website builder could provide the inspiration needed to kickstart your favicon creation.
Tips for designing a favicon
- Optimal Size: Favicons are typically displayed at 16×16 pixels, though they can appear larger in certain contexts. Ensuring your favicon is crisp and recognizable in these standard sizes is crucial.
- File Formats: While the traditional ICO format is universally compatible, modern web practices now lean towards PNG or JPEG for their versatility and quality. SVGs are also gaining popularity for their scalability and performance benefits.
- Designing with Precision: The compact nature of favicons demands a design approach focused on simplicity and clarity. Detailed designs can become indistinguishable at such a small scale, so it’s advisable to aim for a design that is bold and instantly recognizable.
In crafting your favicon, consider the principles of minimalist design. Avoid intricate details in favor of a straightforward, impactful design that captures the essence of your brand. Look to successful examples, such as a simple yet distinct arrangement of dots or a logo’s clever adaptation, for inspiration.
Remember, your favicon is not just a decorative element; it’s a crucial component of your website’s branding and user experience. Taking the time to design it thoughtfully can significantly enhance your site’s visibility and brand recognition.
How to add a favicon to your Qtandard site
Setting up a favicon on your Qtandard website is a quick and easy way to boost your site’s identity. Here’s a streamlined guide to get you started:
- Access Your Admin Panel: The first step is to log into the administrative backend of your Qtandard site. This is where all the magic happens!
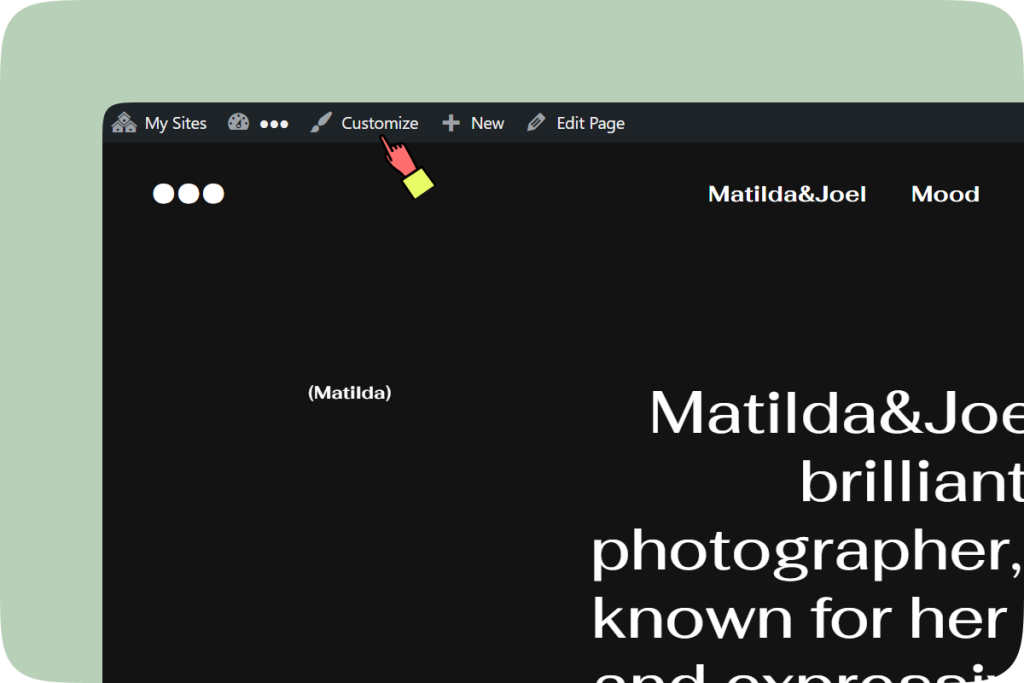
- Find the Customization Options: Within the admin panel, head over to the ‘Appearance’ section and click on ‘Customize’. This area allows you to tweak various aspects of your site’s look and feel.
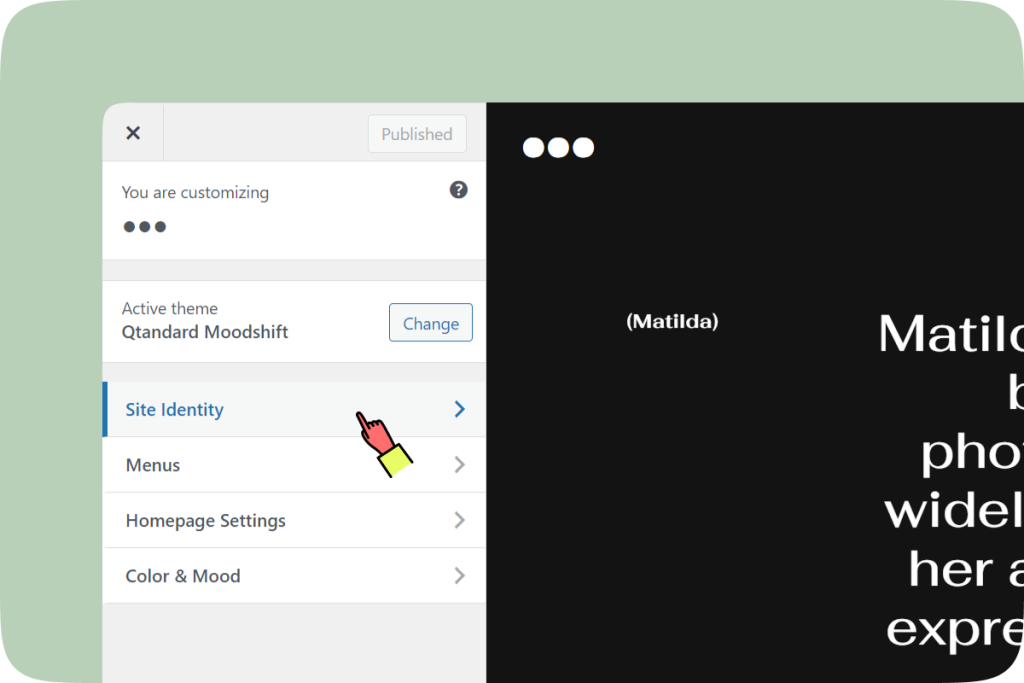
- Site Identity Settings: In the customization menu, look for a section labeled ‘Site Identity’. It’s here that you’ll find the option to add or change your favicon.
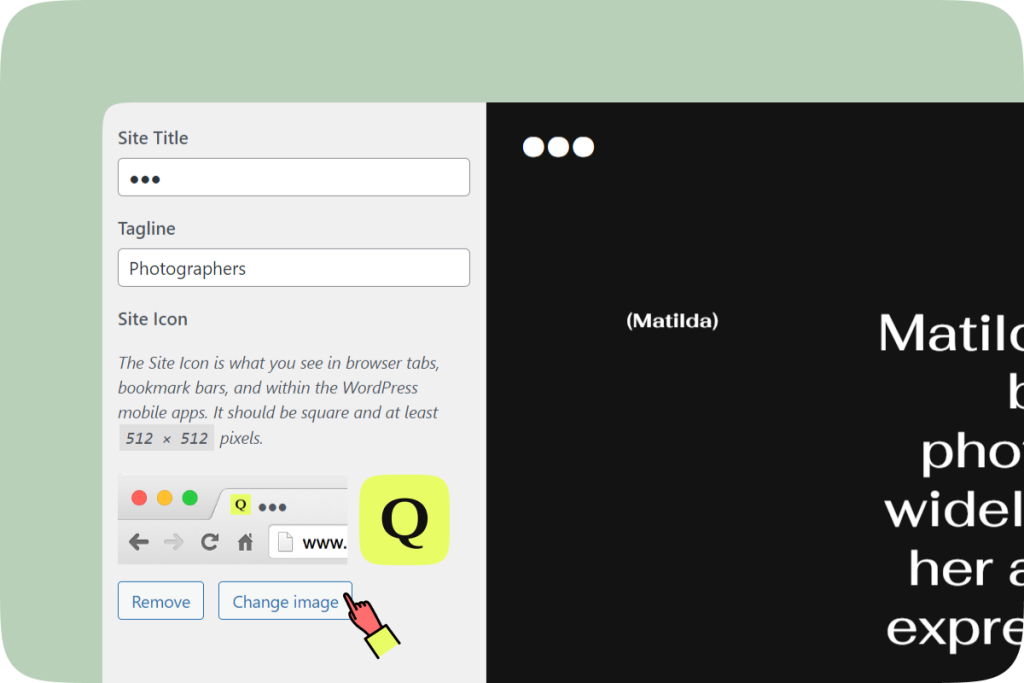
- Selecting Your Favicon: Choose an image that encapsulates your brand or website’s essence. This tiny icon will be your site’s flag across the vast web, so pick something memorable and fitting.
- Upload and Save: After selecting the perfect image, upload it to set it as your favicon. Remember, this step is crucial for your favicon to go live, so don’t skip hitting the ‘Save’ button after uploading.
By following these steps, you ensure your site stands out with a unique marker, making it easily identifiable for your visitors across different tabs and bookmarks.
Testing and Optimization
After implementing your favicon on your website, it’s crucial to conduct a thorough check to see how it appears across various platforms. To avoid any caching errors that might display an outdated version of your favicon, initiate this test using incognito mode. Explore every corner of the web where your favicon might show up – from browser tabs and bookmarks to your site’s listing in search engine results. If you haven’t made it to the organic search listings yet, try looking up your site by its name or brand; if it’s indexed, your favicon should show up.
This testing phase is not just about confirming the favicon’s presence but also evaluating its design impact. Does it encapsulate your brand’s spirit? Does it stand out in the digital crowd for the right reasons? If your favicon ticks these boxes, then it’s all set to enhance your online identity. Remember, a well-conceived favicon can significantly contribute to your website’s recognition and user experience.