Columns
The Columns block allows you to create multi-column layouts, making it easy to organize and present your content in a visually appealing and structured manner.
How to add a column block
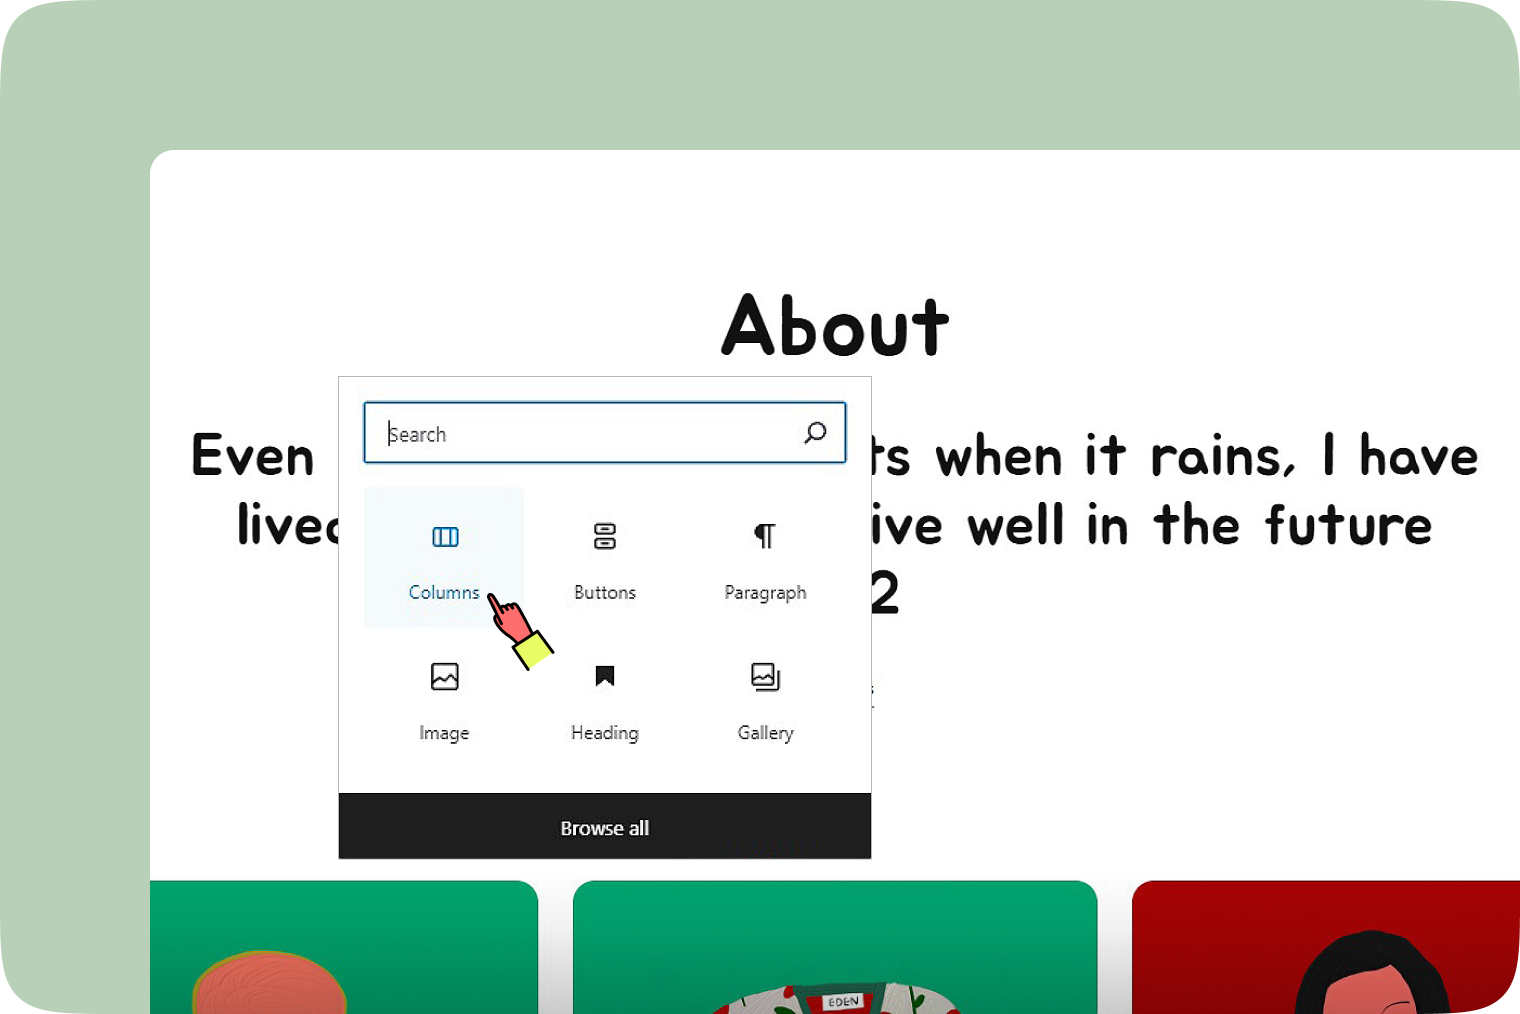
- Click on the ‘+’ button and choose the ‘Columns’.
- Alternatively, type
/columnsand press enter.
Once added, choose the initial variation or skip to use the default (50/50).

Block toolbar
After adding a Columns Block, you’ll find these useful tools in the block toolbar to help you customize and organize your columns effectively.
Transform to
The ‘Transform to’ button lets you change a Columns block into a ‘Group’ block. This feature allows you to adjust the layout and appearance of your content with a simple click, ensuring your writing looks just the way you want.
Drag & Move
Use the six-dot icon to drag your block, or the up and down arrow buttons let you move a block one position higher or lower.
Alignment
The ‘Alignment’ tool lets you adjust the width of your columns. Simply click the icon, and a menu will appear with options. You can set your columns to no alignment, max 1200px wide, or full width.
Vertical alignment
You can change the vertical alignment of the content in the Columns Block by selecting ‘Align top’, ‘Align middle’, or ‘Align bottom’.
More Options
The More options menu represented by three vertical dots on the far right of the toolbar gives you more features such as the ability to duplicate, remove, or edit your block as HTML.
Block settings
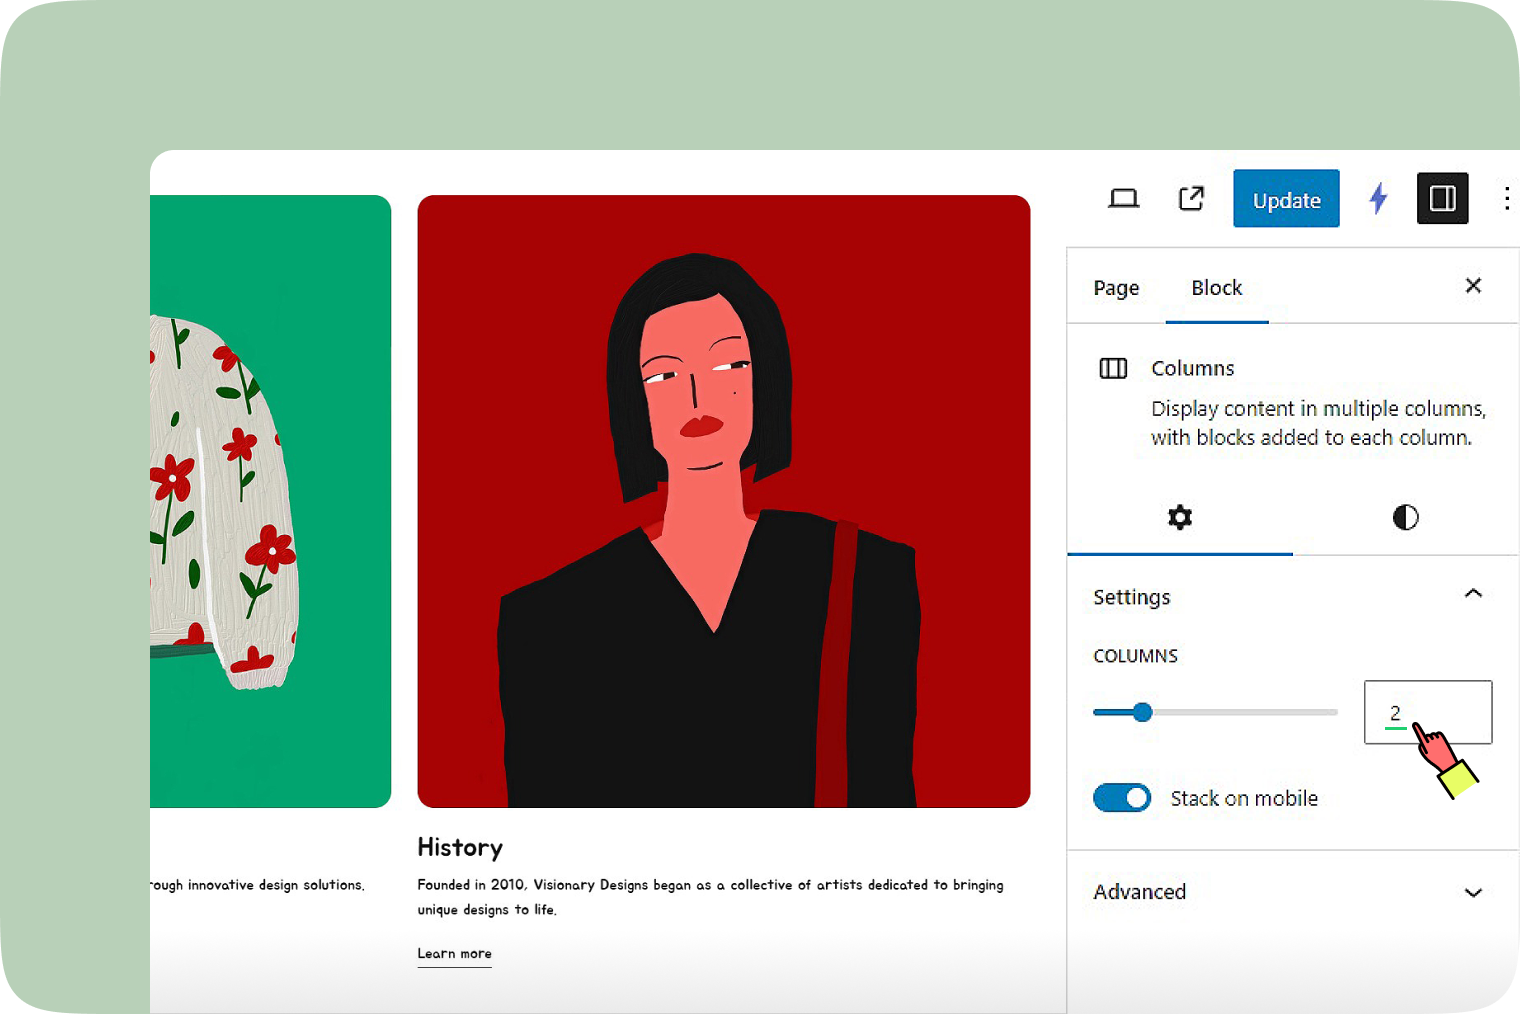
Access the block settings from the editor sidebar, visible on the right side panel when you click on the block.
Number of columns
You can set the number of columns, ranging from 1 to 6, to best fit your content layout.
Stack on Mobile
Choose to stack media and text for better viewing on mobile devices, ensuring a seamless user experience.
Advanced
Add HTML anchors or CSS classes for unique styles or navigation. The HTML anchor settings allow you to create a unique anchor text for the Group block, enabling you to link it to another web page.
