How to create a page
Creating pages in Qtandard
In Qtandard, you can add content to your site as either a Post or a Page.
When you’re writing a regular blog entry, you create a Post. Posts appear in reverse chronological order on your blog’s home page.
In contrast, Pages are for non-chronological content. Pages live outside the normal blog timeline and are often used to present timeless information about yourself or your site – information that is always relevant.
You can use Pages to organize and manage your website content. You can add as many pages to your site as you want and update your pages as often as you like.
After creating a page, you can add it to your site’s navigation menu so your visitors can easily find it.
Pages you can create in Qtandard
- Home
- About
- Blog
- Board
- Contact
- Event
- Faq
- Gallery
- History
- Menu
- News
- Portfolio
- Pricing
- Privacy
- Product
- Reservation
- Service
- Team
What pages are
- Timeless content: Pages are for content that isn’t time-dependent or part of the blog content.
- Organization: Pages can be organized into parent pages and subpages.
- Templates: Pages can use different page templates, including template files and Template Tags.
- Page options: Only Pages have specific options to show or hide the page title, giving you more control over the presentation of each page.
- Flexibility: You can have a WordPress website with only Pages.
What pages are not
- Non-chronological: Pages don’t appear in the chronological view in the blog of a website.
- No taxonomy: Pages by default do not allow categories, tags, and custom taxonomies, but you can enhance them via plugins.
- Database storage: Pages are not files, so they are stored in your database just like Posts.
- Not in feeds: Pages are not included in your site’s feeds (e.g., RSS).
- SEO difference: Pages and Posts can be interpreted differently by visitors and search engines. Search engines often place more relevance on Posts because newer posts on a topic may be more relevant than a static page.
A specific Page (or Post) can be set as a static front page. Websites set up this way have a blog page that displays the latest blog posts.
How to view all the pages
- Log in and go to ‘My Page’ and then find ‘Sites’.
- Click the ‘Admin↗’ button of the site you want to view all the pages.
- In the Admin section, go to ‘Pages’ and then ‘All Pages’. This will show the Pages screen with a list of all the pages you have in your site.
- You can easily search for a Page based on the Page Title.
- You can get a list of all the Published Pages or Draft Pages.
- You can filter Pages based on dates.
- You can perform ‘Bulk actions’ > ‘Edit’ or ‘Move to Trash’ by selecting multiple Pages from the list.
- You can sort the Pages list based on ‘Title’, ‘Date’ or ‘Author’ by clicking the Header columns.
How to organize pages
You can organize your Pages into parent and child pages and create a hierarchy.
For example, you can have an About Page as a parent page and create subpages under it for Vision, History, Core value, Mission, Team.
The structure of About page on the site would then look like this.
- About
- Vision
- History
- Core value
- Mission
- Team
How to create a new page
- Log in and go to ‘My Page’ and then find ‘Sites’.
- Click the ‘Admin↗’ button of the site you want to create a new page.
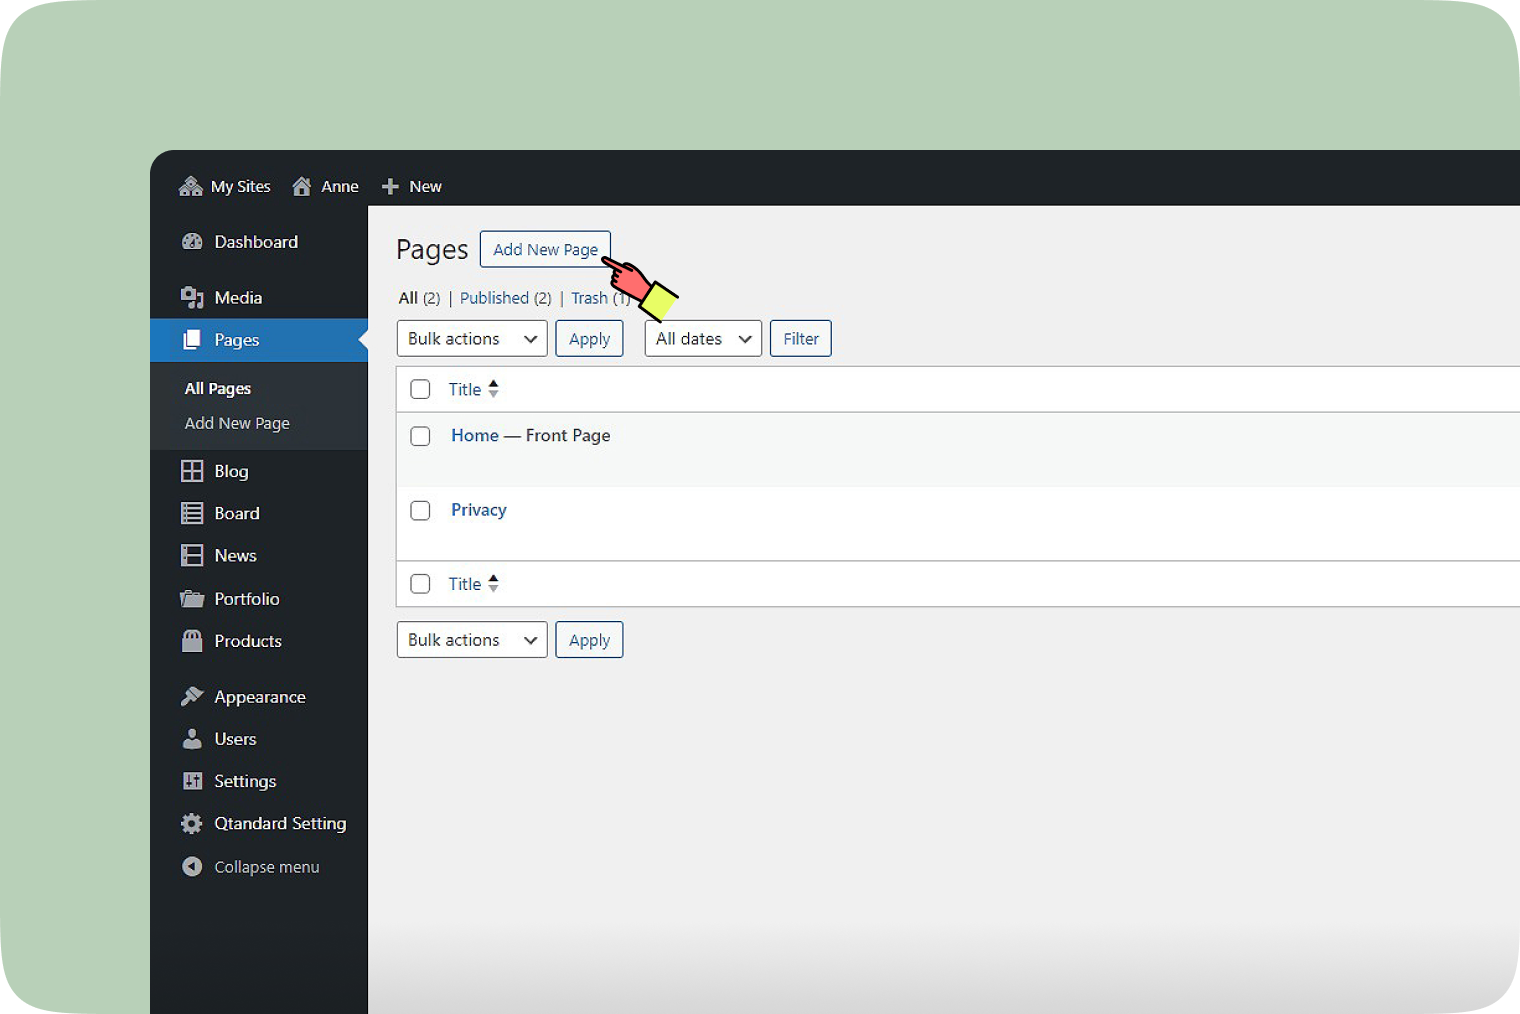
- In the Admin section, go to ‘Pages’ and then ‘Add New’.
Alternatively, you can also click the ‘Add New’ button in the Pages screen.
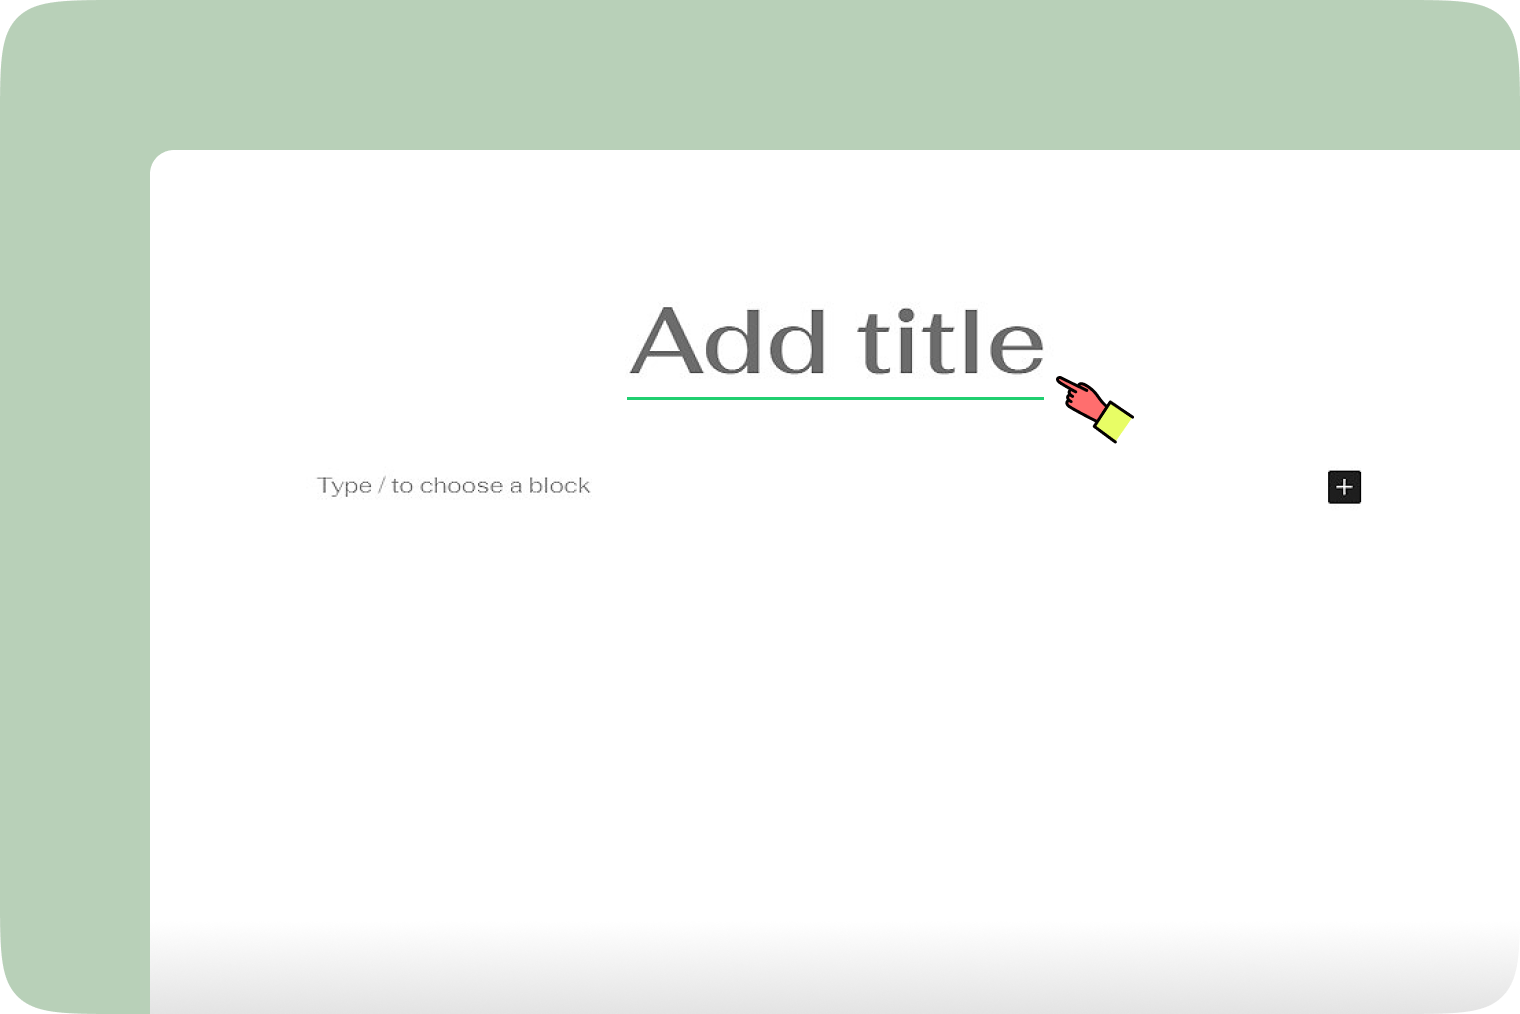
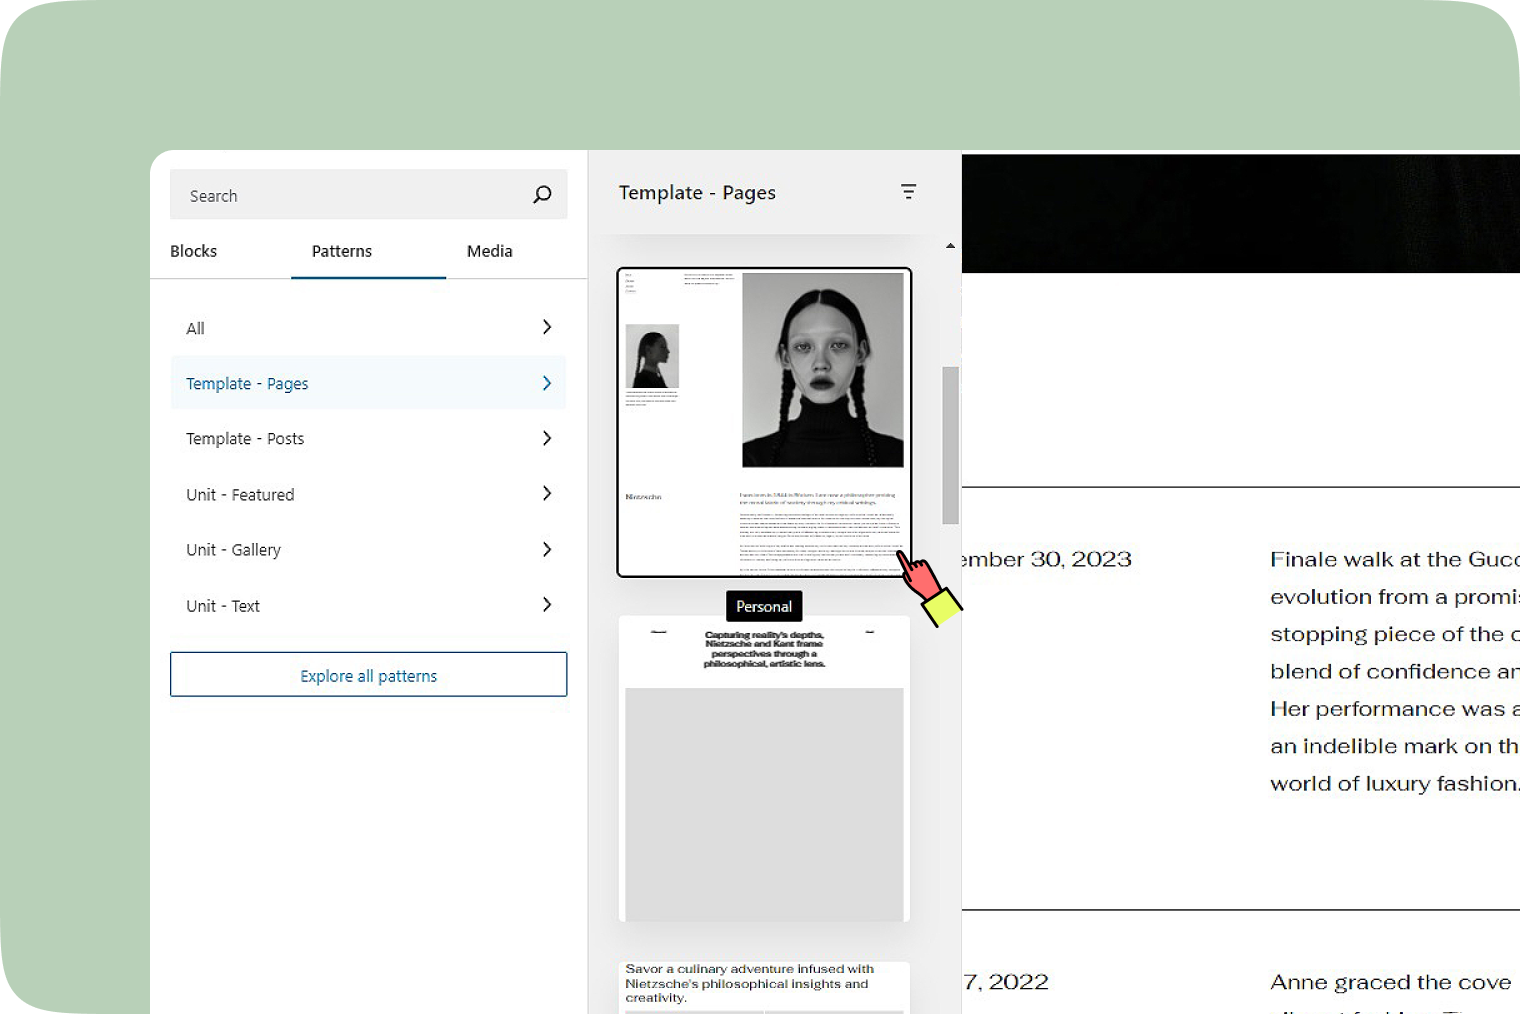
- Add a title for the page.
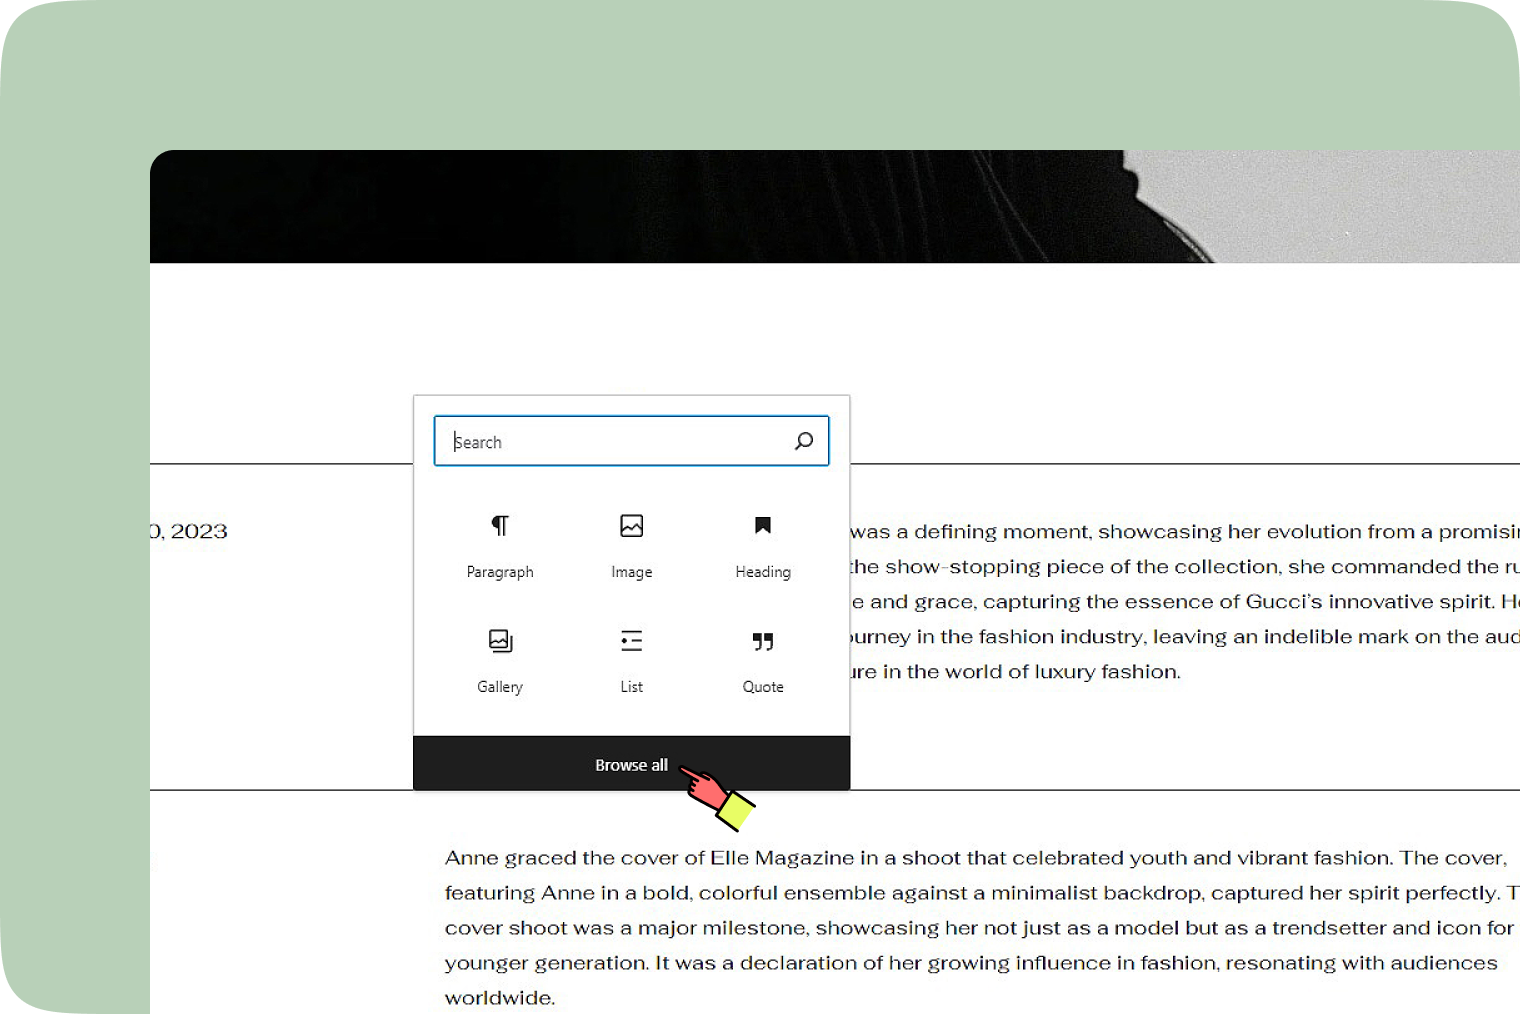
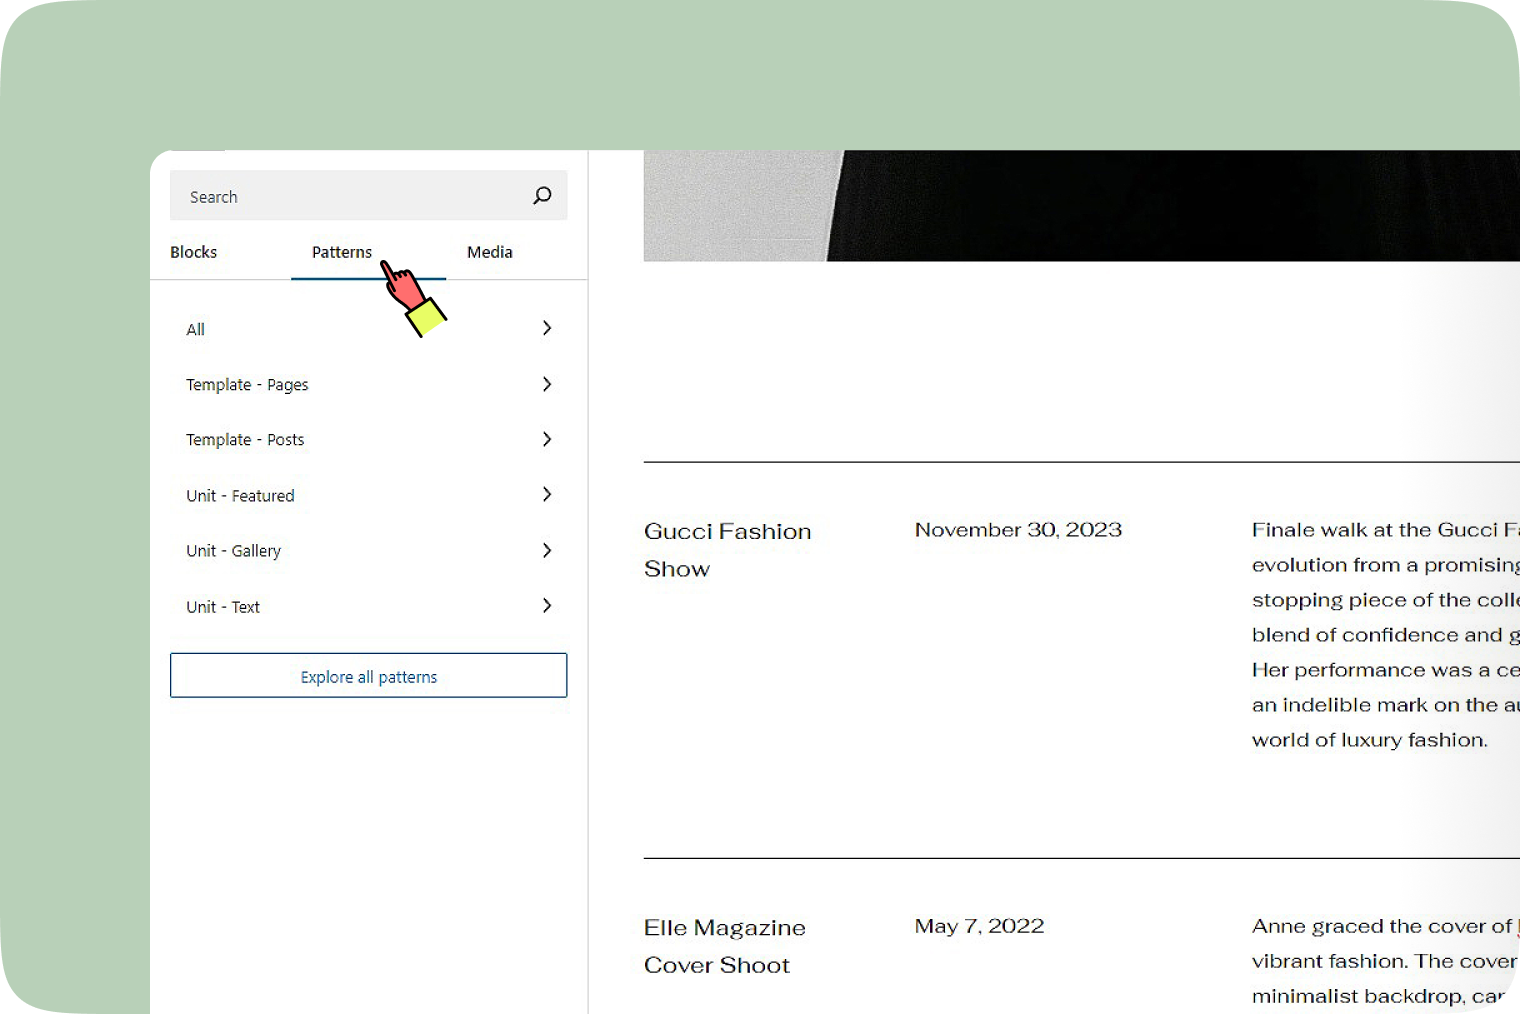
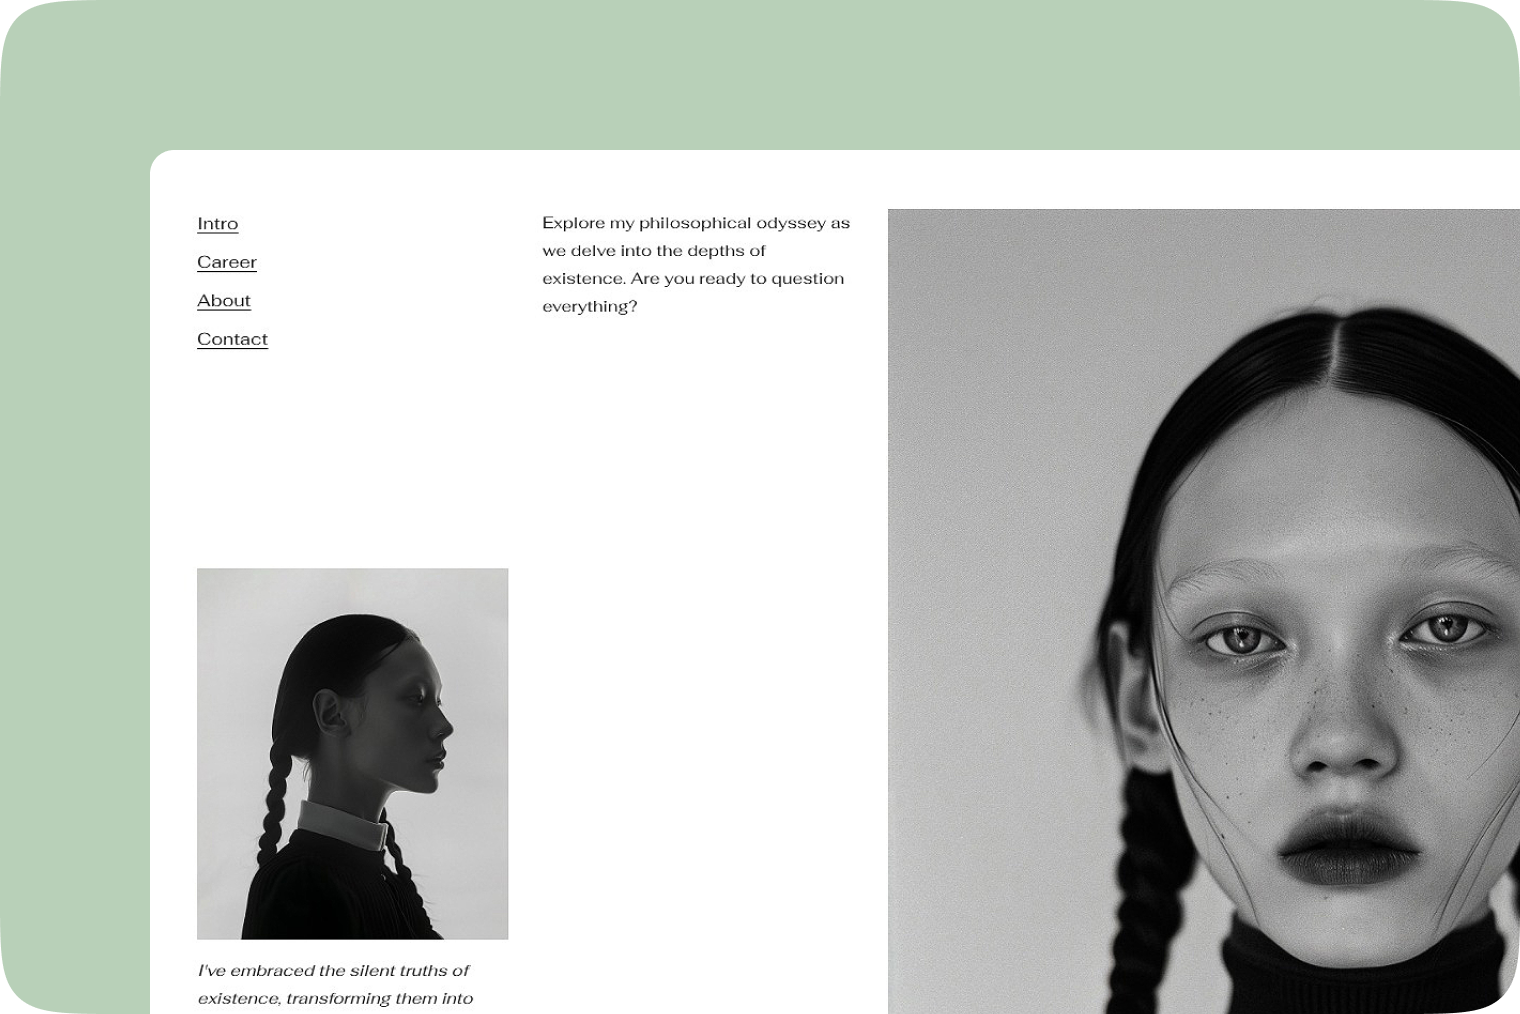
- Add body content for the page. Click the ‘+’ button and find ‘Patterns’ Qtandard made for you for a sleek layout of your website.
- Click ‘Publish’ when ready.
Set a featured Image
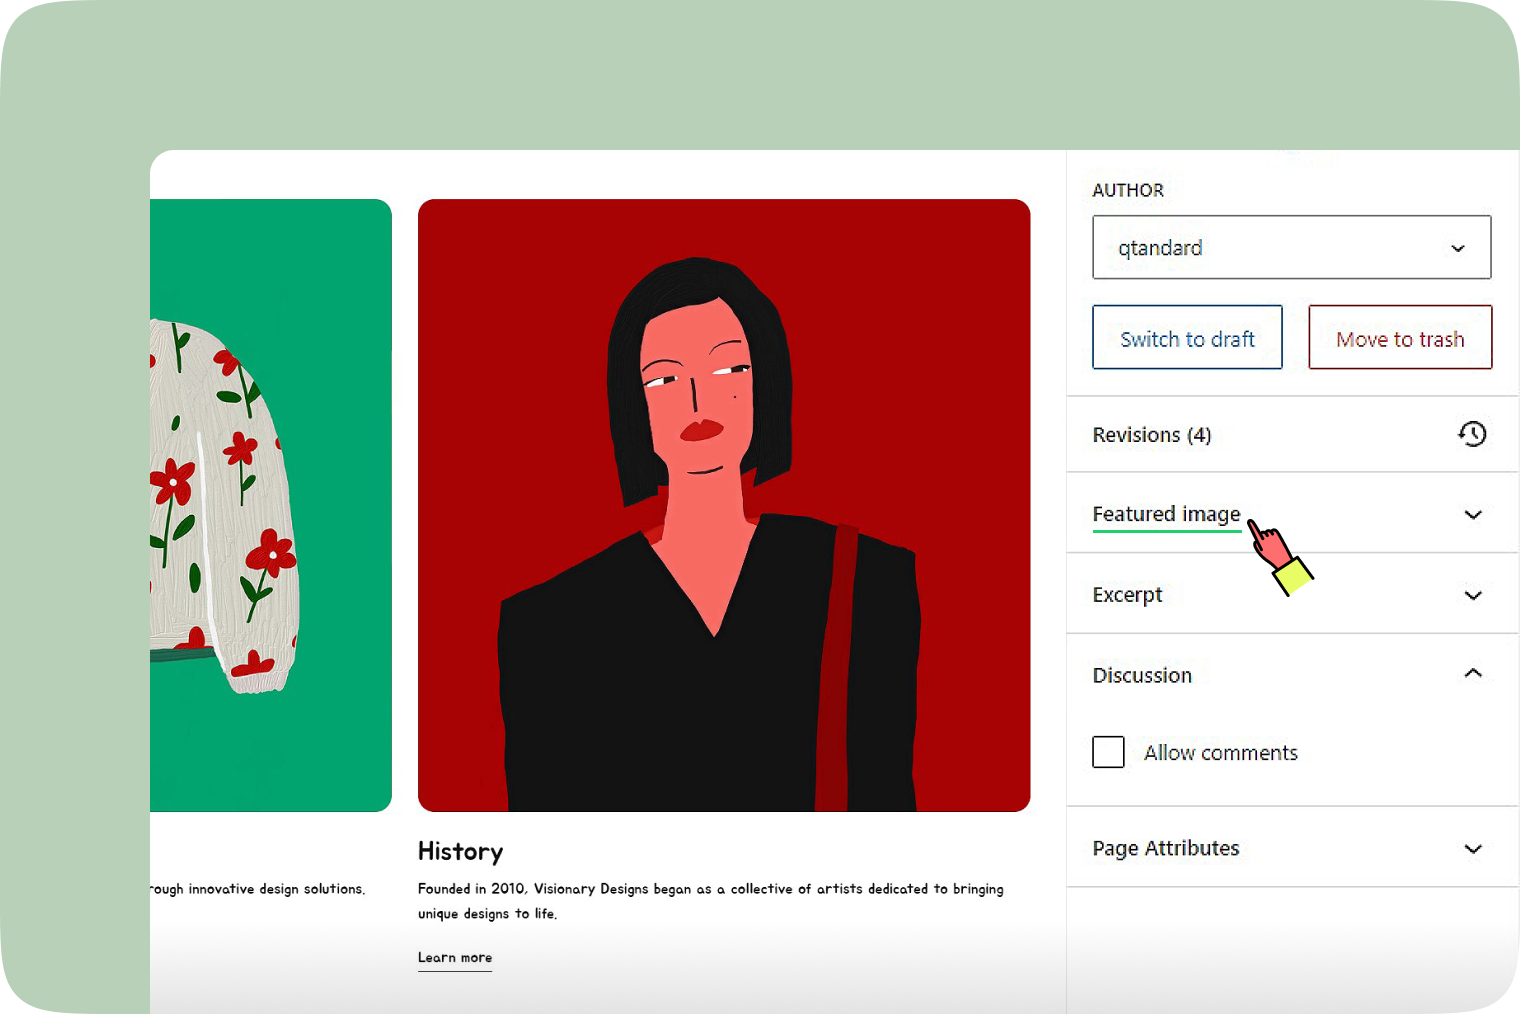
A featured image represents your page on your site and when shared on social media. To set one:
- Find the ‘Featured Image’ section in the right sidebar settings.
- Click on ‘Set featured image’. Select an image from your media library or upload a new one.
- After choosing the image, ensure you save your changes by clicking the ‘Update’ button at the top of the editor.

How to change the URL of a page
Using the Edit option
- To change the URL (also known as the “slug”), hover over the Page title in the Pages screen and select ‘Edit’.
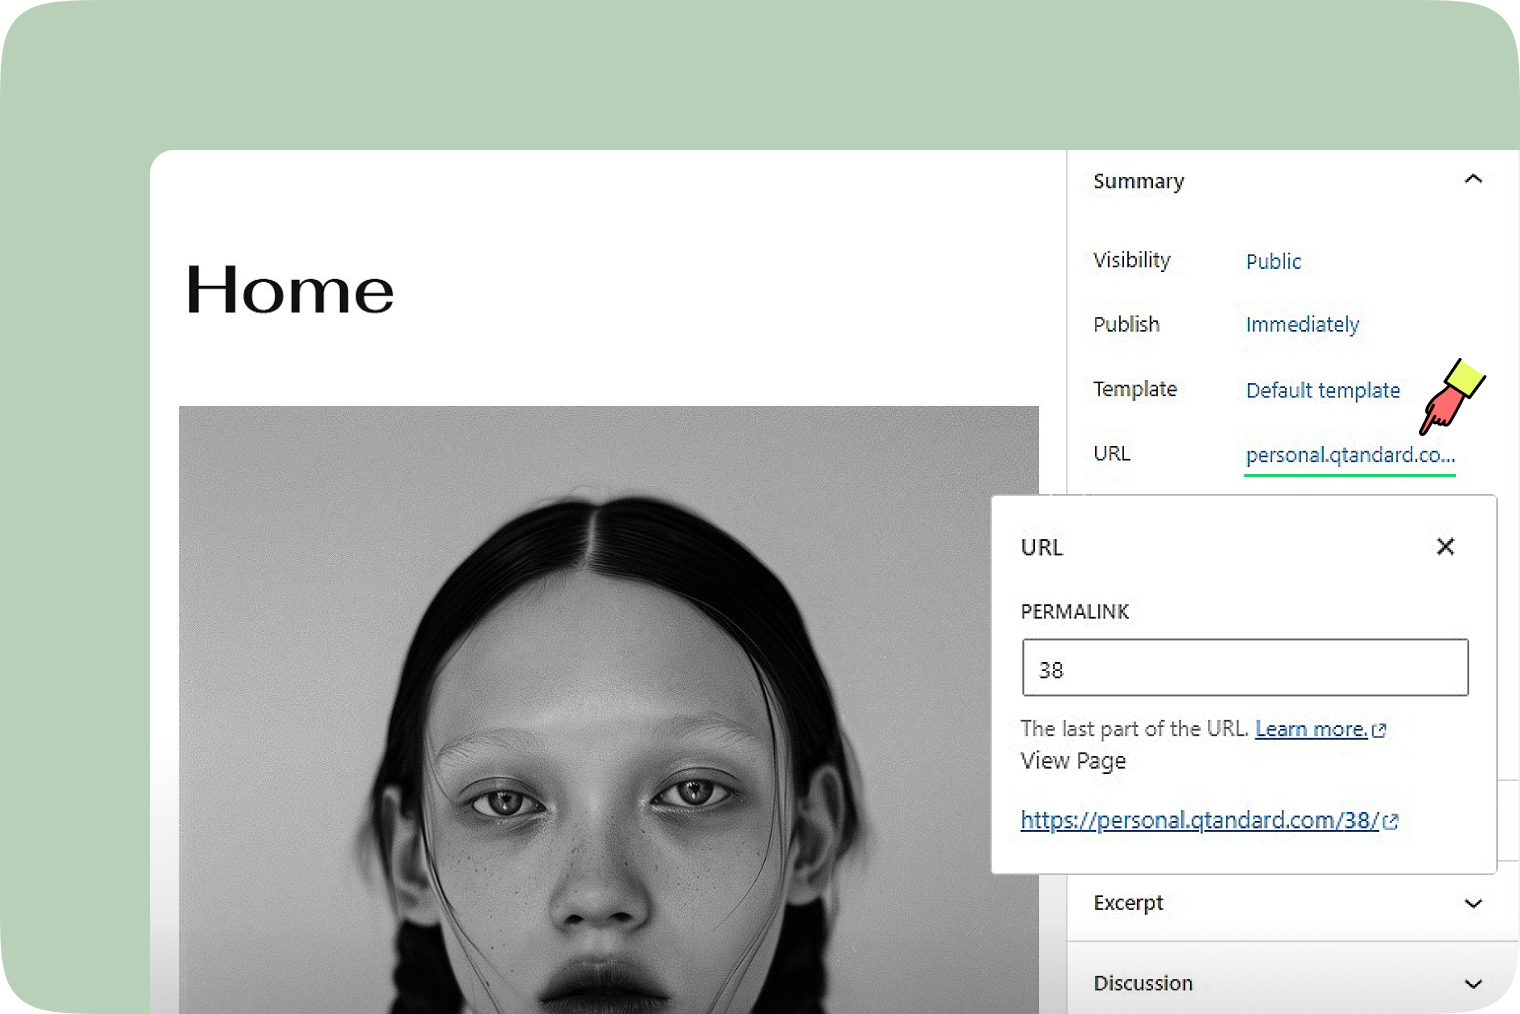
- In the Page Sidebar settings, under Summary, click the ‘URL link’ to open the URL popup. Change the Permalink entry to update the URL of the page.
- Type in a new URL in the Permalink field.
- Click the ‘Update’ button to save the changes.
Using the Quick Edit option
- To change the URL (also known as the “slug”), hover over the Page title in the Pages screen and select ‘Quick Edit’.
- This will open a Quick Edit Panel while you remain in the Pages screen. The Quick Edit panel allows you to modify page details such as Title, Slug, Date, and Author. You can also password-protect the page or mark it as Private. Additionally, you can change the Parent page, page order, template for the page, and the Status of the page between Published, Pending Review, and Draft.
- Click the ‘Update’ button to save the changes.
How to set page visibility
To adjust the visibility of your page, find the ‘Visibility’ option in the Page tab on the right side of the page.
By default, posts and pages are set to Public. This means the content will be visible to everyone as soon as it’s published.
Click the edit link next to ‘Visibility: Public’ in the Publish options to see more visibility settings.
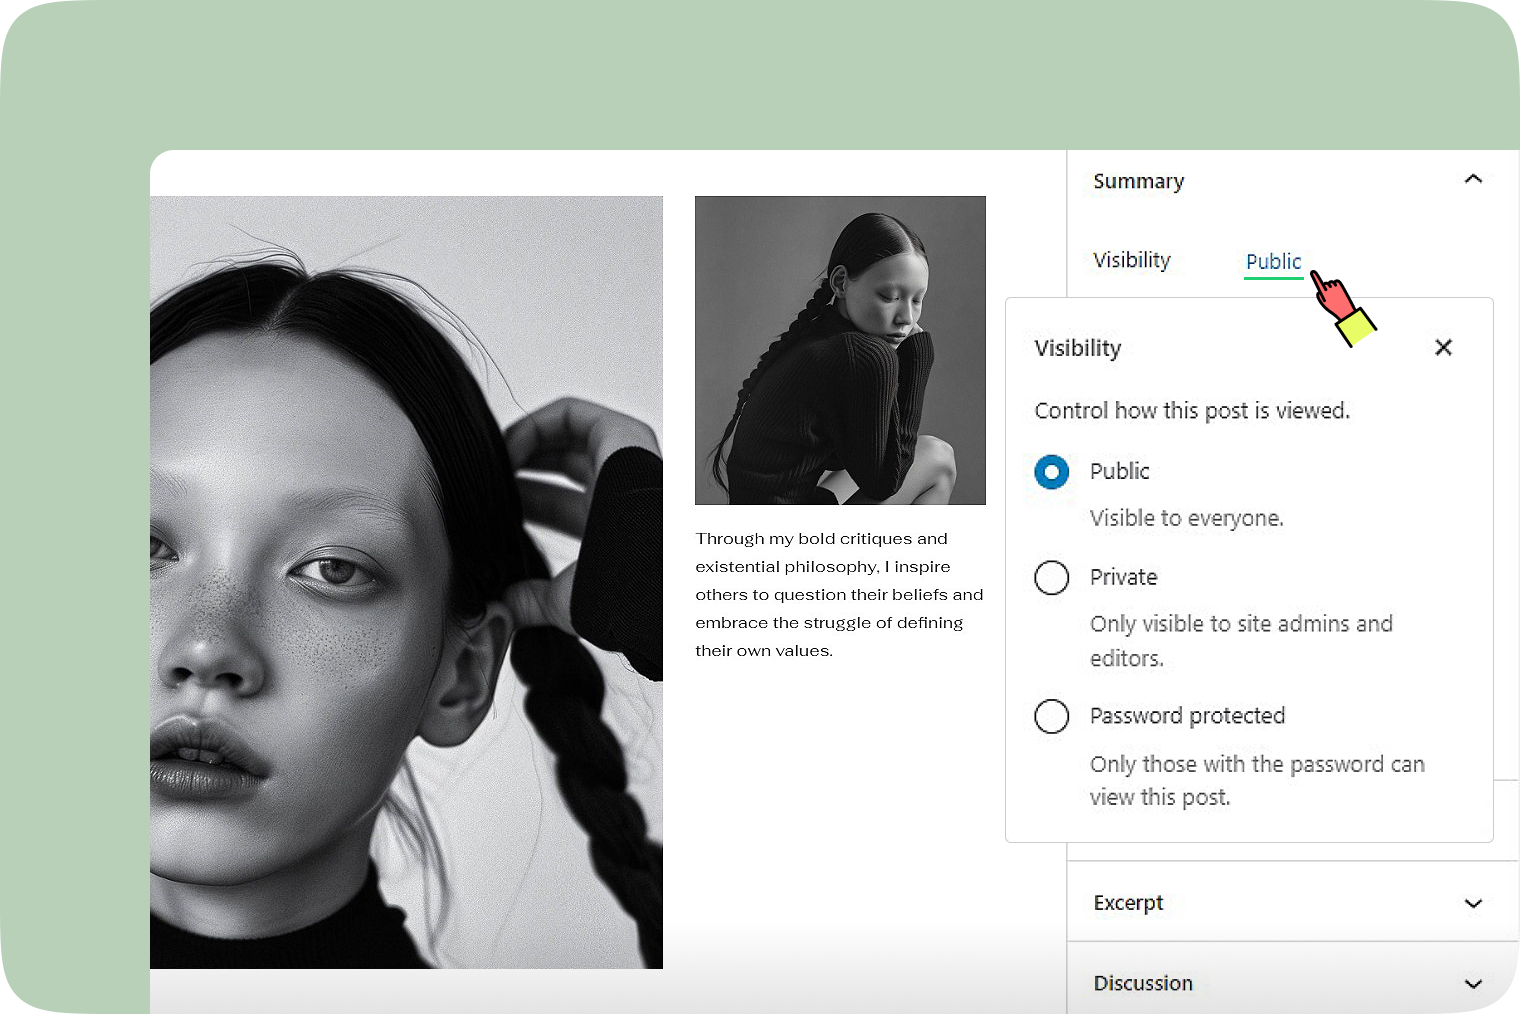
The options include:
- Public: The default setting, viewable to everyone.
- Private: This option hides the content from the public entirely.
- Password Protected: Selecting this option and clicking ‘OK’ will prompt a text box where you can enter a password.
How to delete a page
Using the Edit option
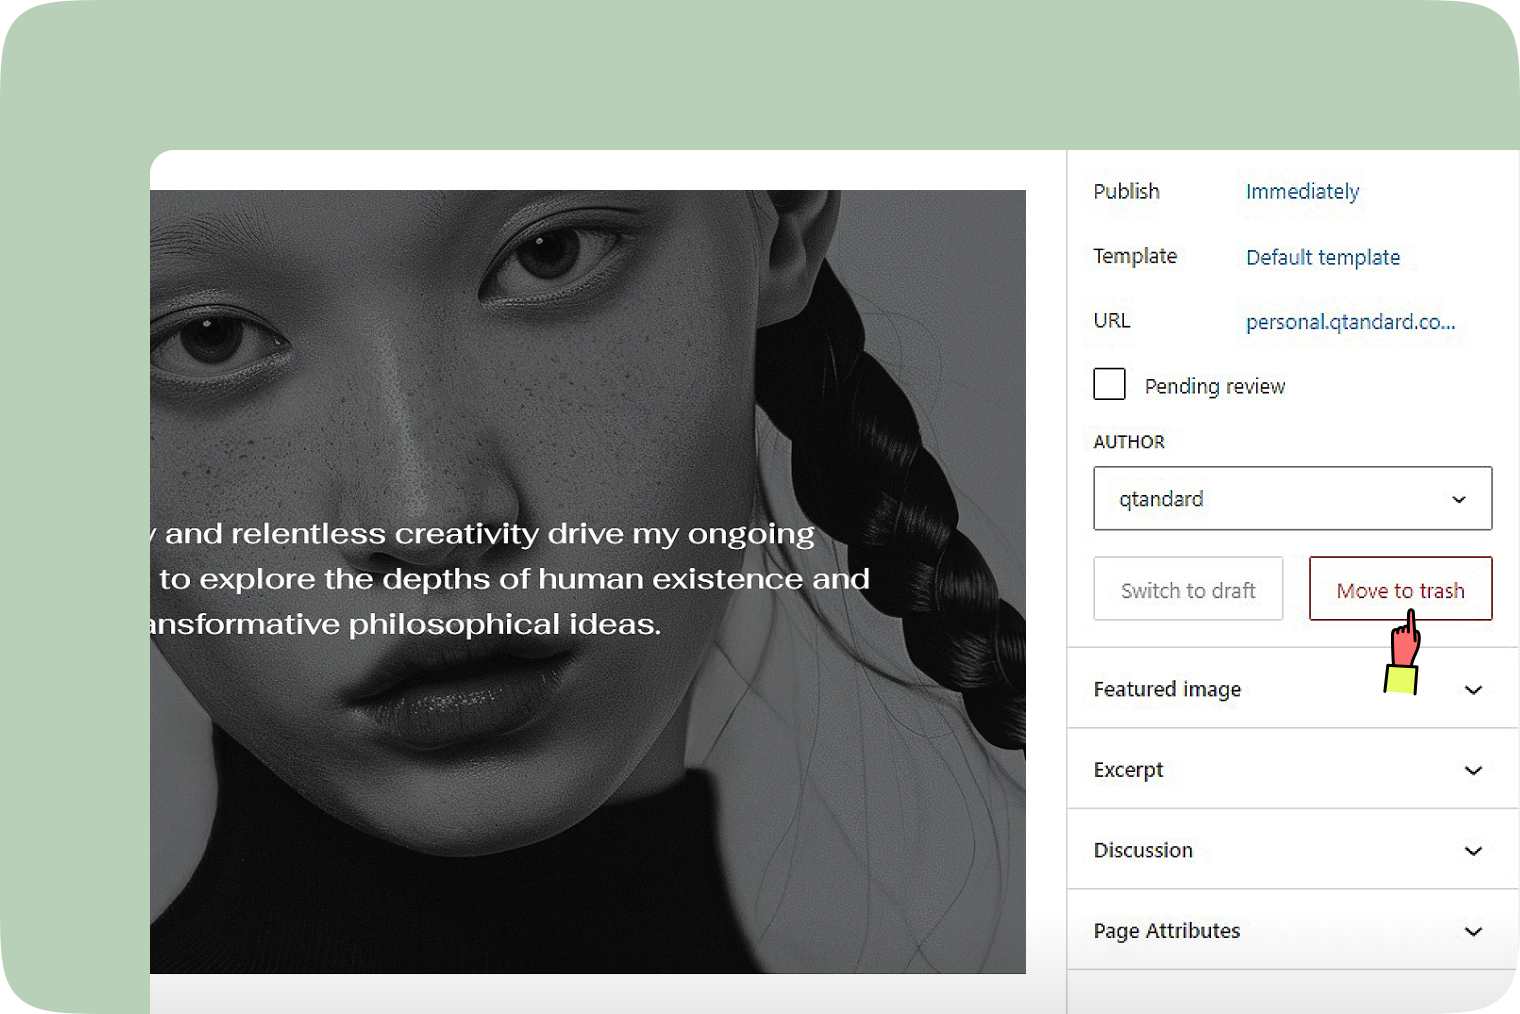
- To delete the page, hover over the Page title in the Pages screen and select ‘Edit‘.
- In the Page Sidebar settings, under ‘Author’, click the ‘Move to trash’
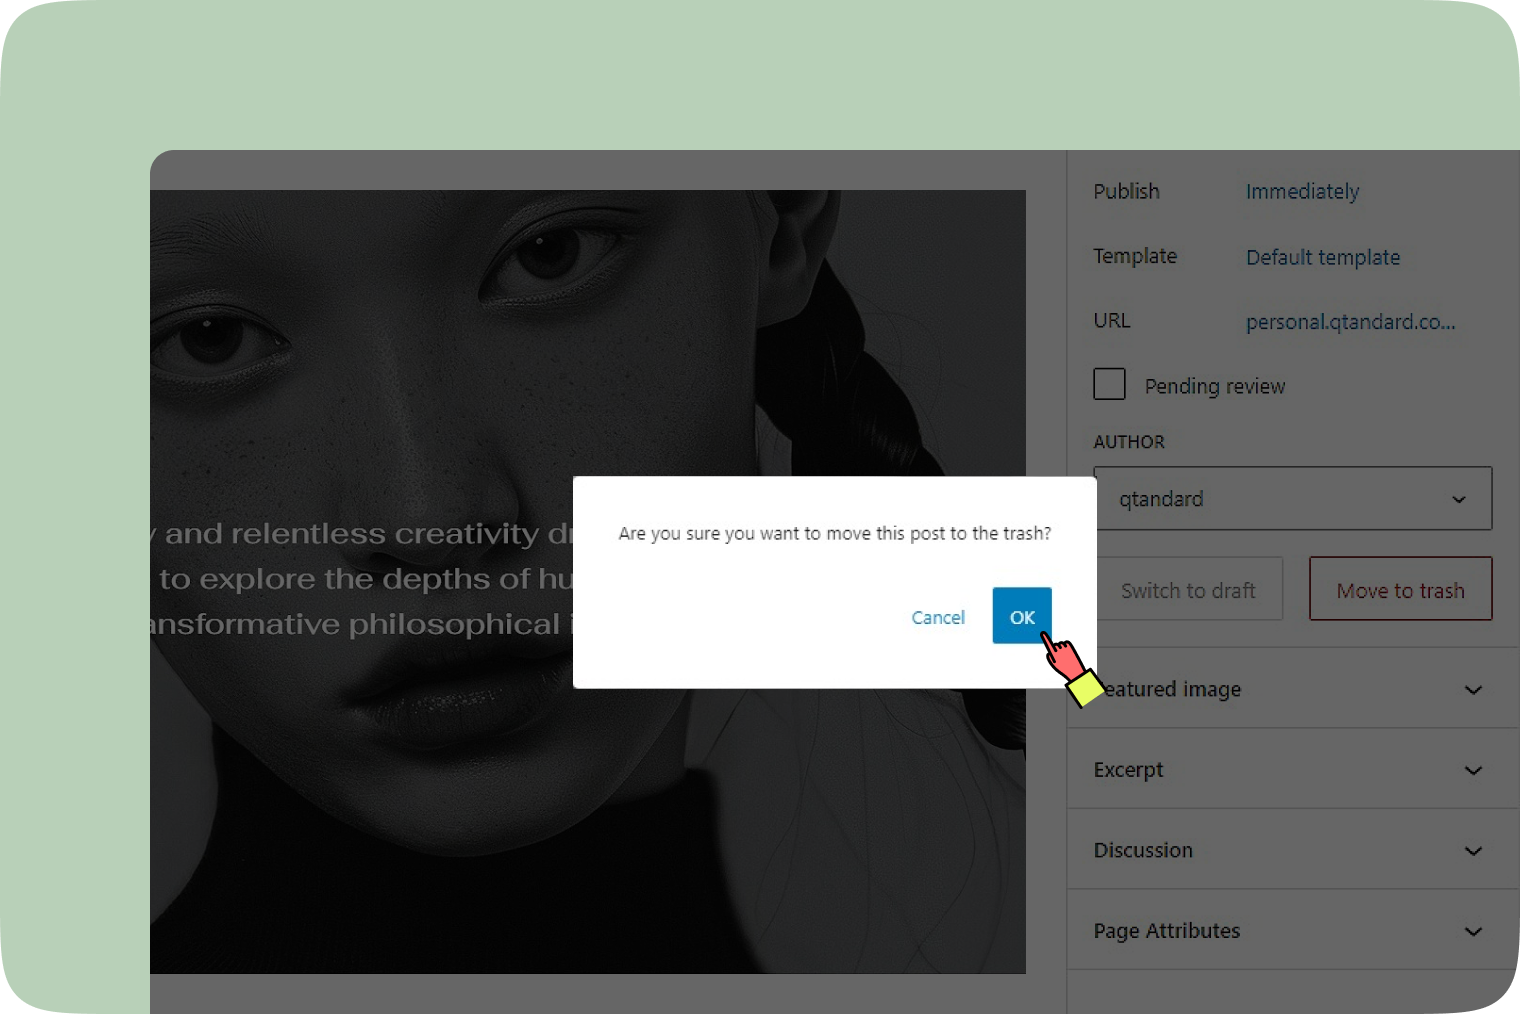
- Once moved to the trash, the page is immediately relocated to the trash folder. You can find it in the ‘Trash’ tab.
- In the ‘Trash’ tab, hover over the page title to choose either ‘Restore’ to bring the page back or ‘Delete Permanently’ to remove it for good.
Using the Quick Edit option
- To delete the page, hover over the Page title in the Pages screen and select ‘Trash’.
- Once moved to the trash, the page is immediately relocated to the trash folder. You can find it in the ‘Trash’ tab.
- In the ‘Trash’ tab, hover over the page title to choose either ‘Restore’ to bring the page back or ‘Delete Permanently’ to remove it for good.