How to create a post
Adding a blog post to your Qtandard website is easy and lets you share your thoughts, ideas, or news with your audience. Whether you’re a seasoned blogger or just starting out, here’s how to create and publish blog posts on Qtandard.
What are posts?
Posts are regular content entries that appear in reverse chronological order on your page. They are a great way to share timely updates, news, and articles with your audience.
Difference between pages and posts
- Pages: for static content that doesn’t change often, like your About or Contact information.
- Posts: for dynamic content that updates regularly, like blog entries or news updates.
Posts you can create in Qtandard
When you create your website on Qtandard, you can specify your needs on the create page. This will include various types of pages based on your preferences. If your website includes any of the following pages, you can easily create posts for them:
- Blog: Share articles, stories, and updates.
- Board: Post announcements and messages.
- News: Keep your audience informed with the latest news.
- Portfolio: Showcase your work and projects.
- Products: Highlight new products and updates.
This setup allows you to keep your content fresh and engaging, ensuring your visitors always have something new to read or explore.
Below, we will refer to blogs, boards, news, portfolios, and products as “post” or “posts”.
How to create a new blog
- Log in and go to ‘My Page’ and then find ‘Sites’.
- Click the ‘Admin↗’ button of the site you want to create a new blog.
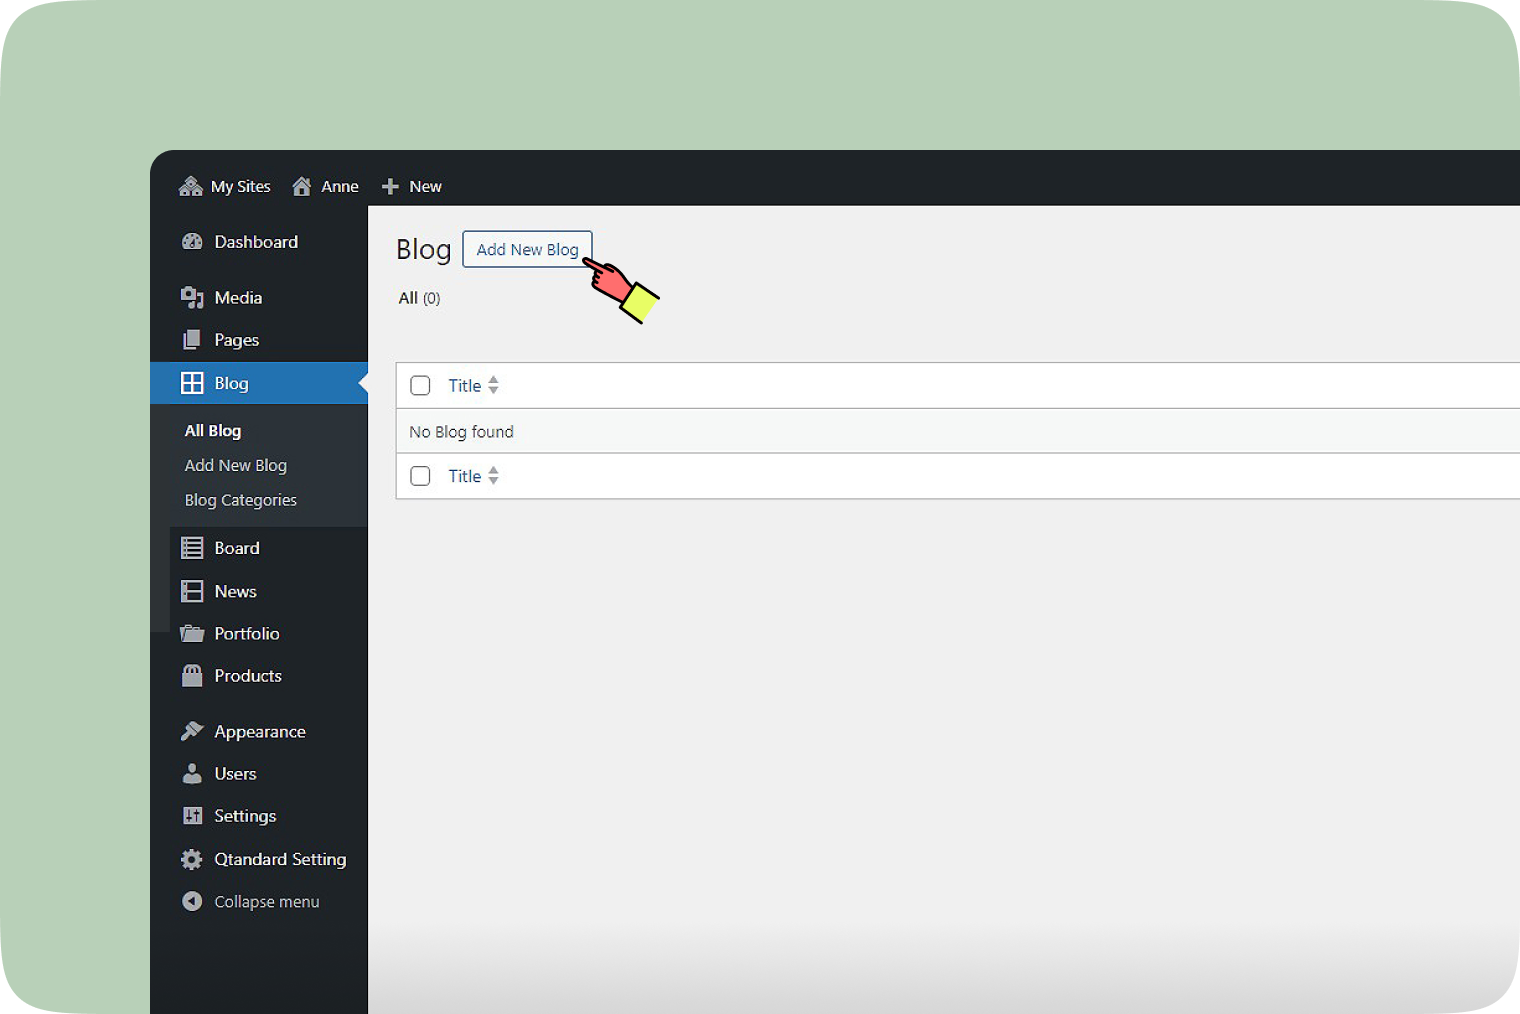
- In the Admin section, go to ‘Blog’ and then ‘Add New Blog’.
Alternatively, you can also click the ‘Add New Blog’ button.
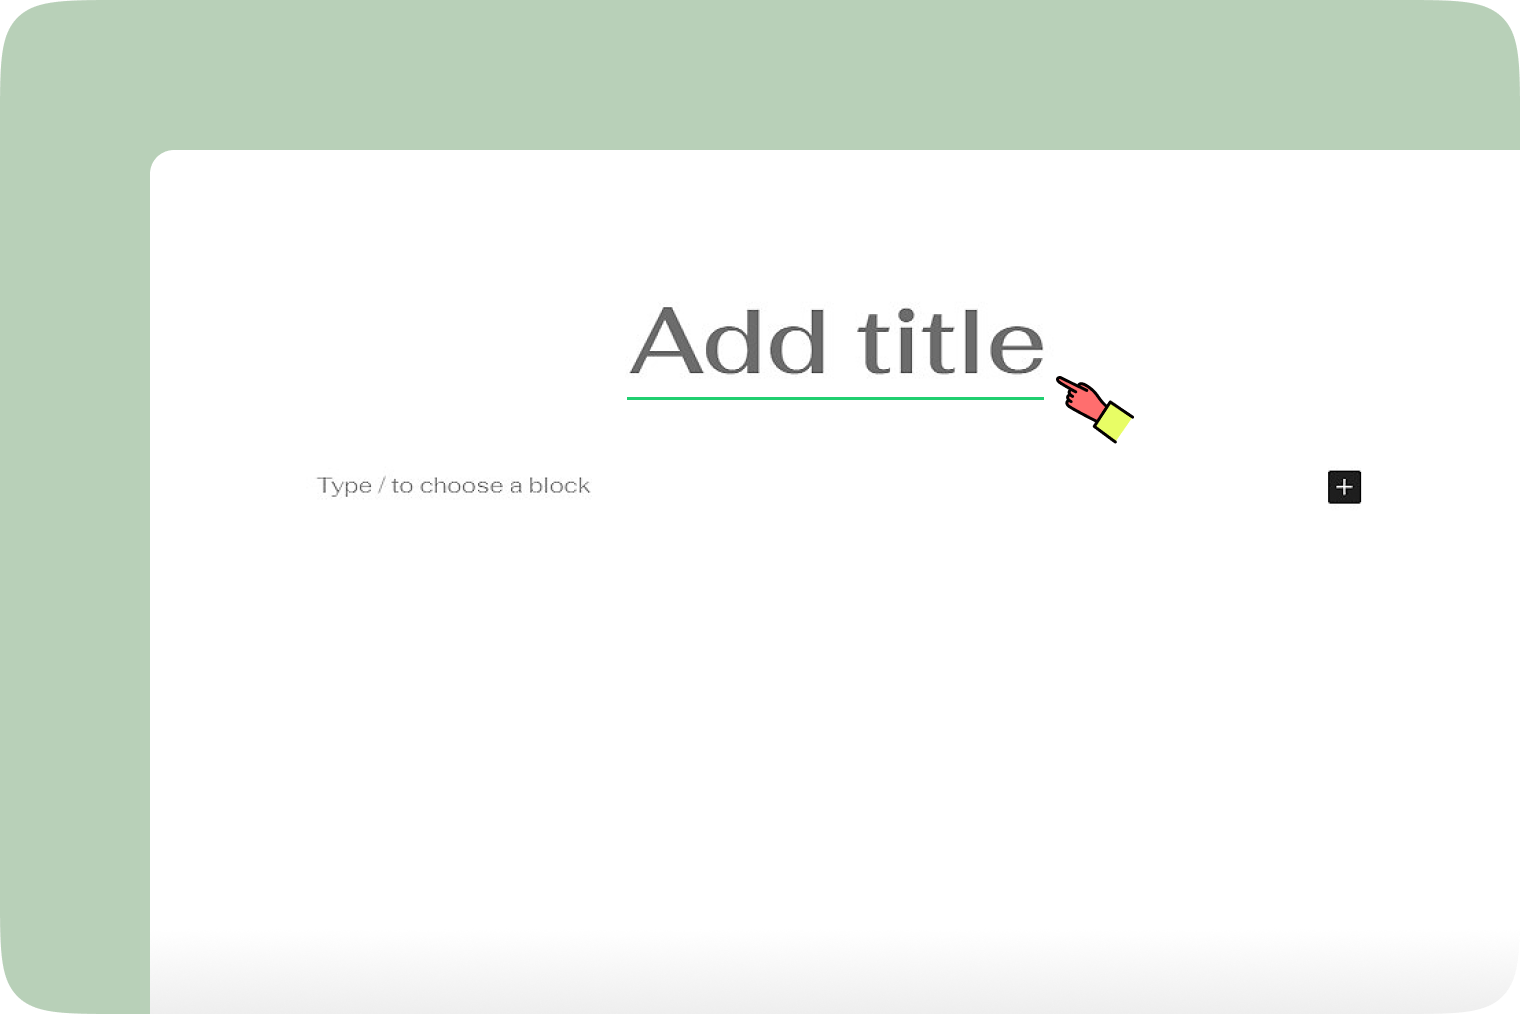
- Add a title for the post.
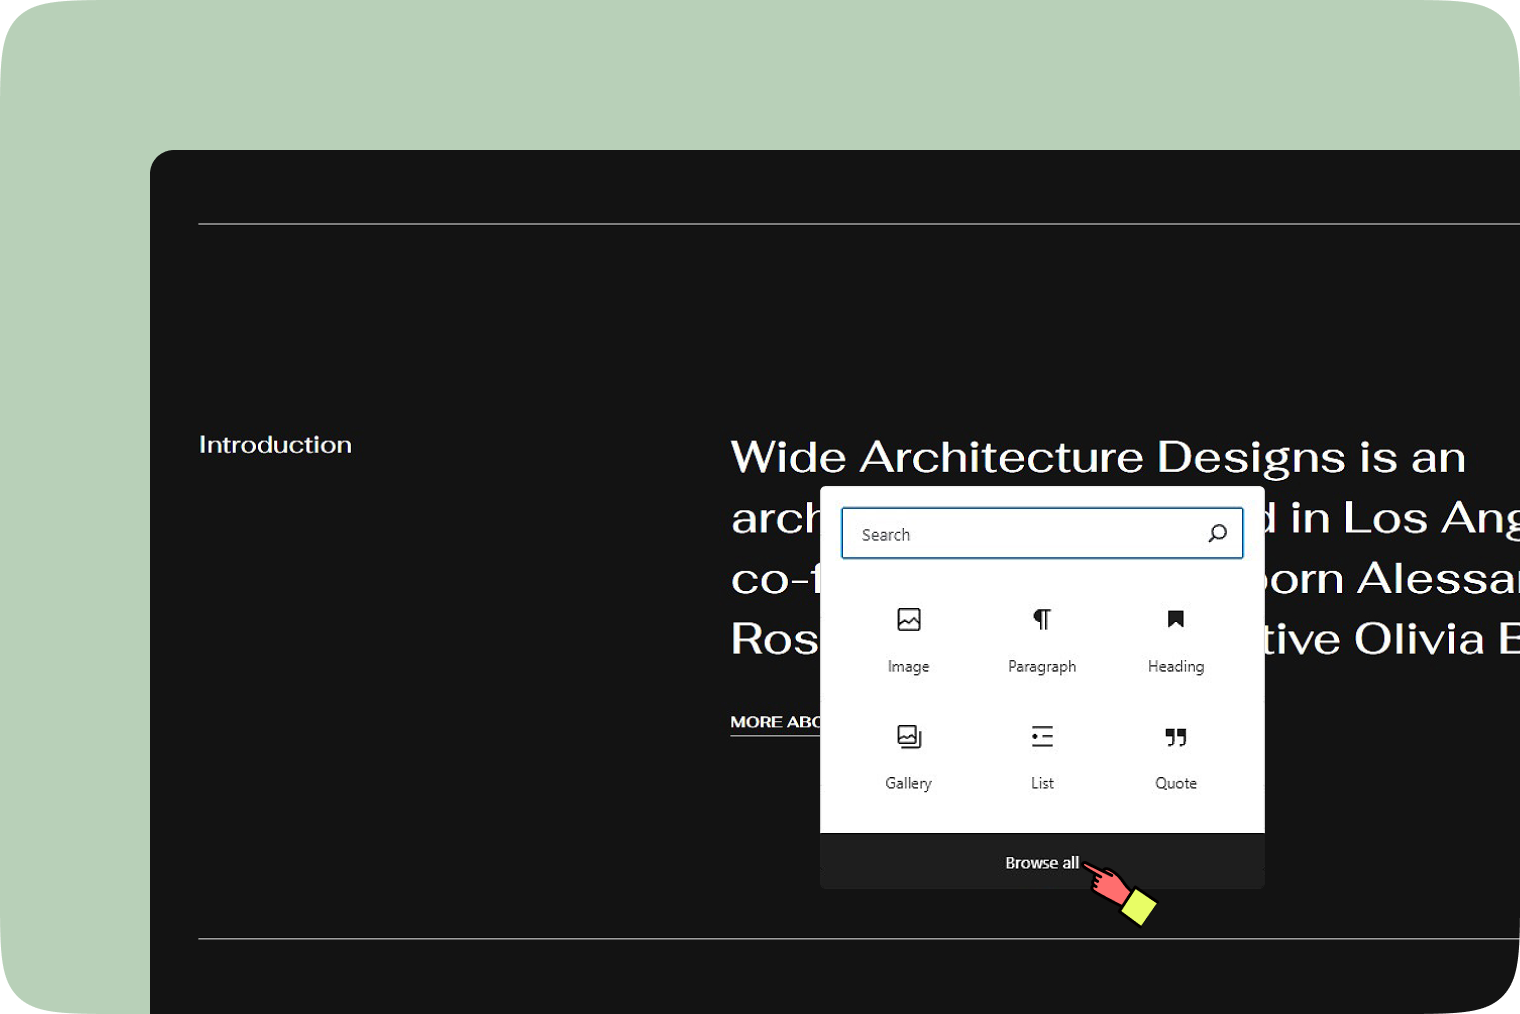
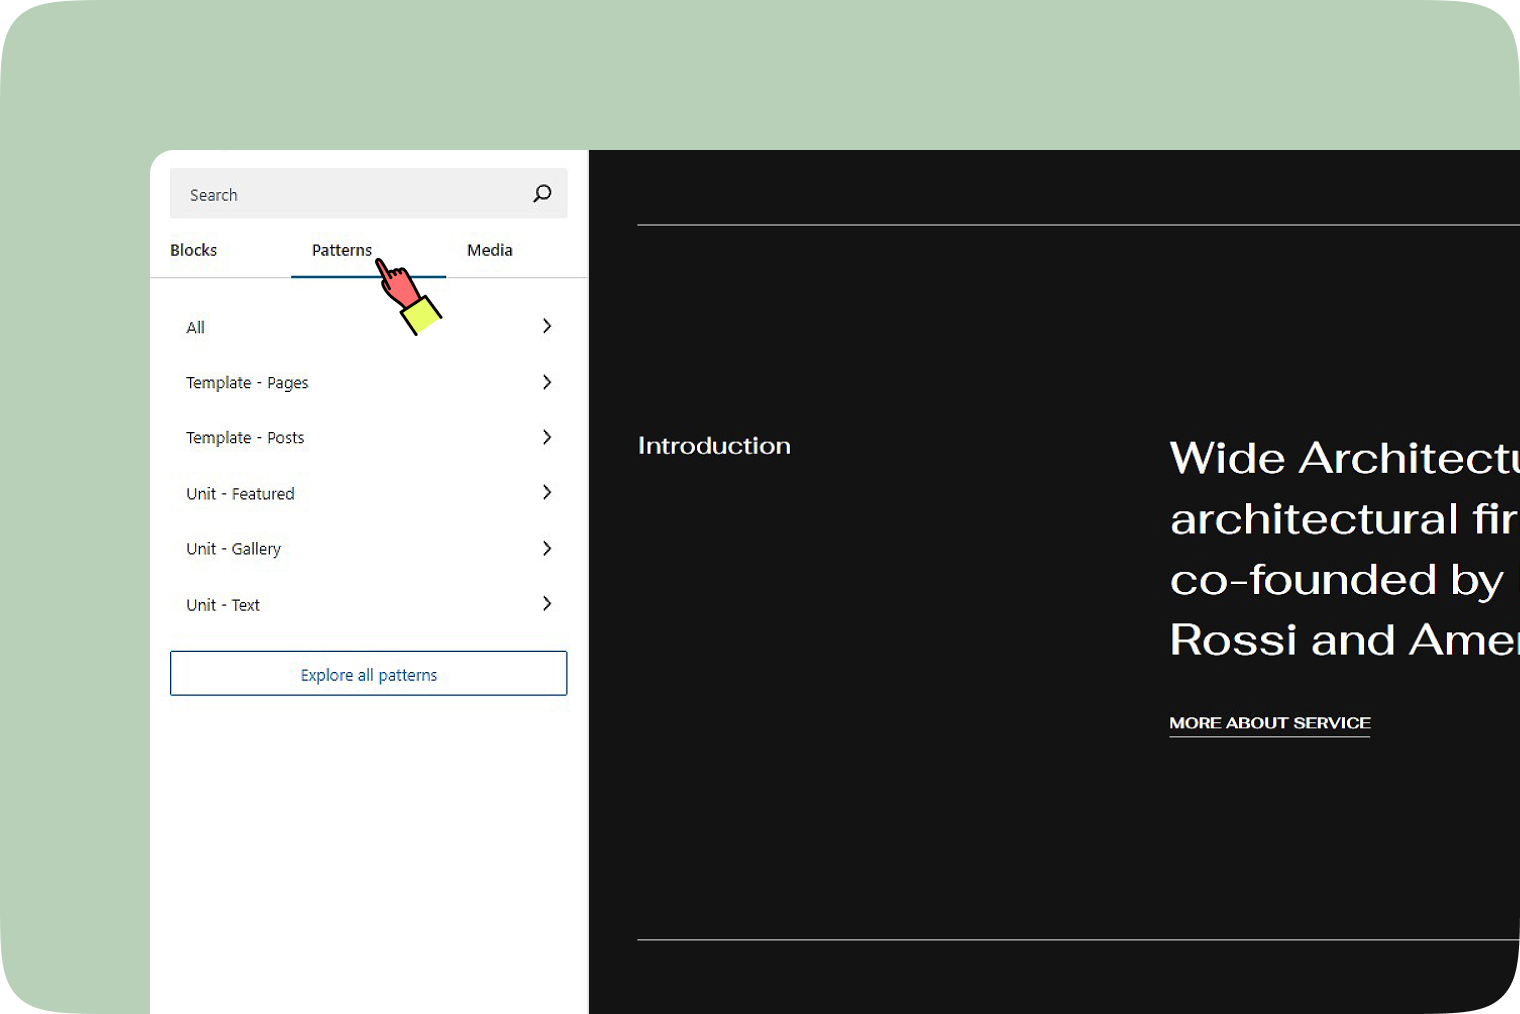
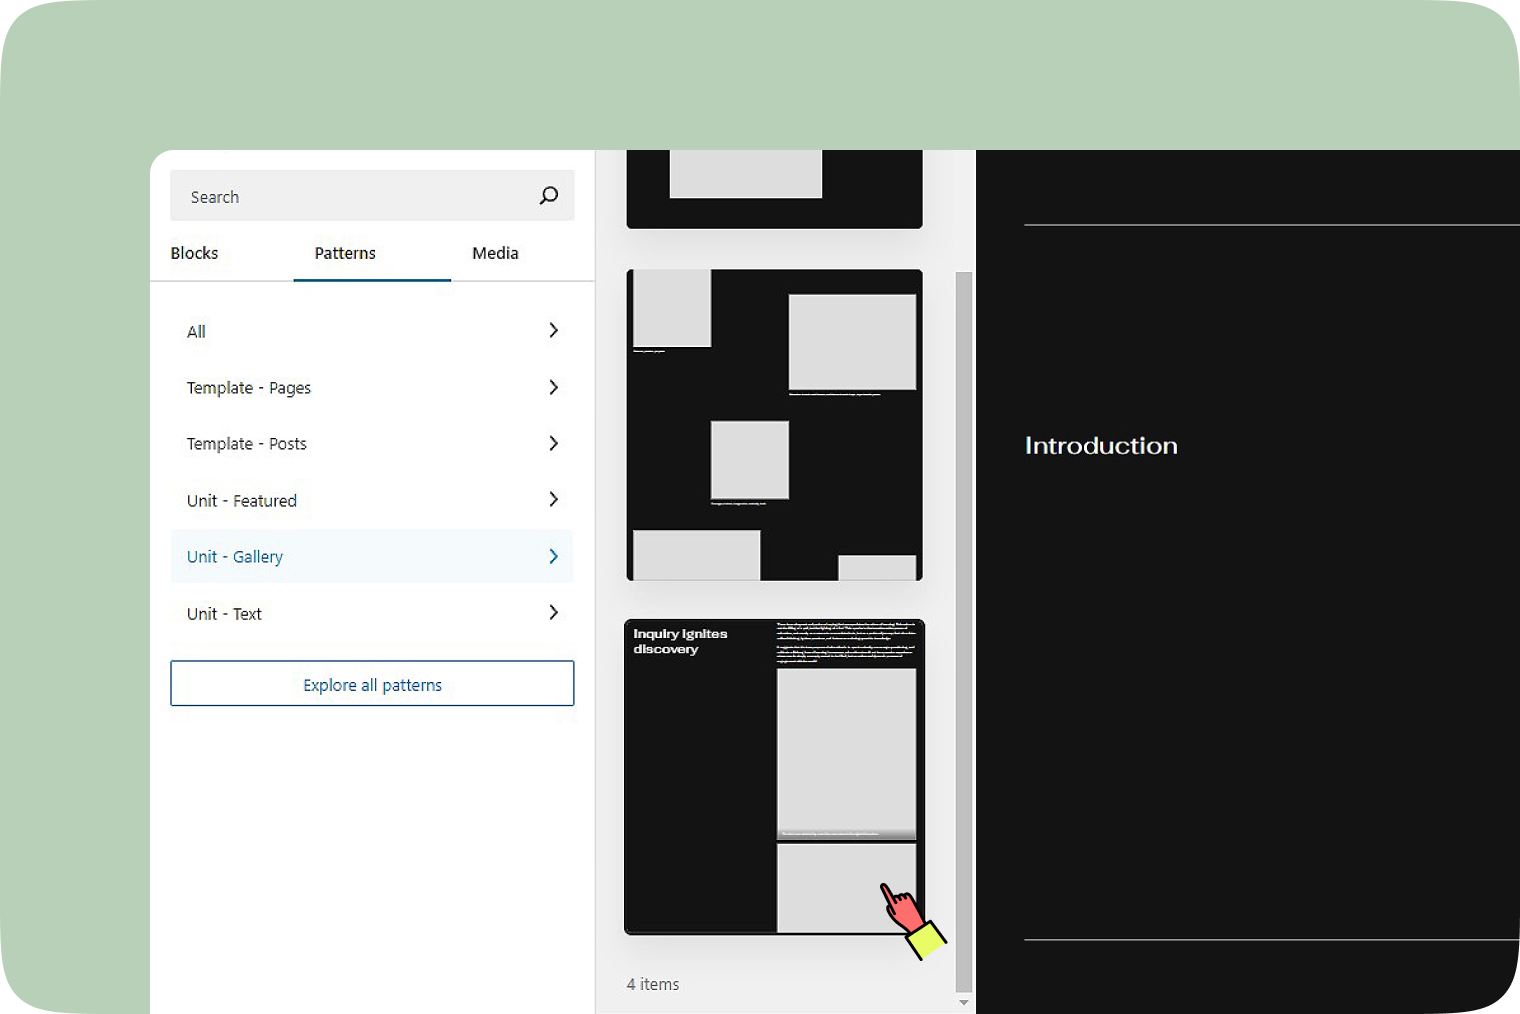
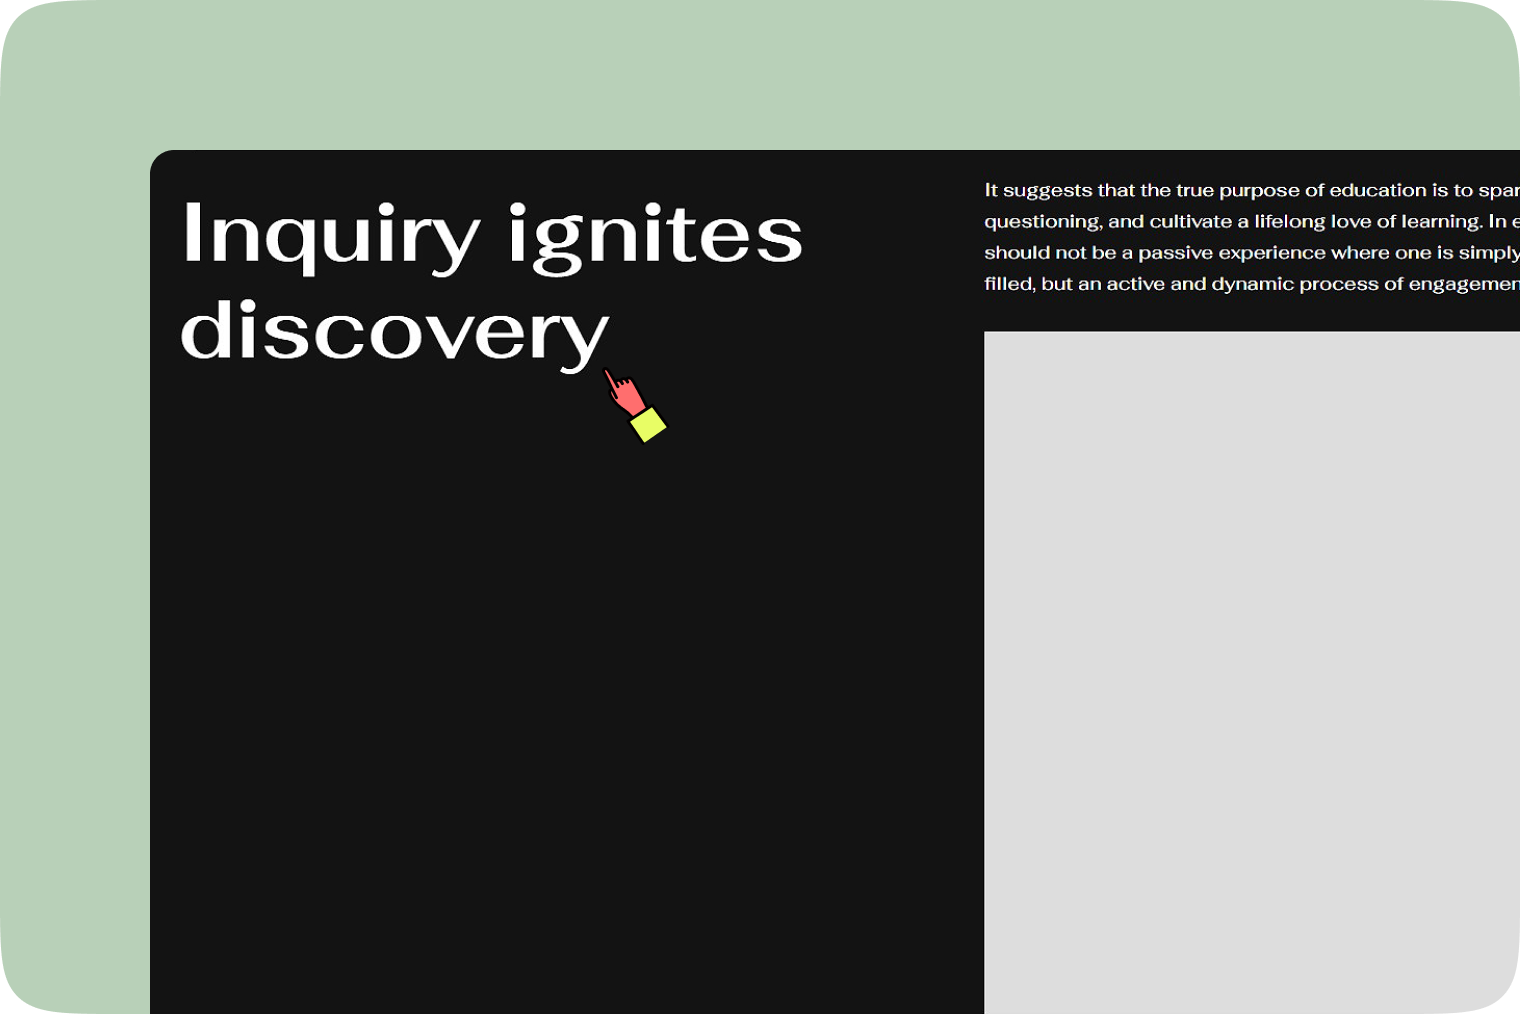
- Add body content for the post. Click the ‘+’ button and find ‘Patterns’ Qtandard made for you for a sleek layout of your website.
- Click ‘Publish’ when ready.
How to create a new board
- Log in and go to ‘My Page’ and then find ‘Sites’.
- Click the ‘Admin↗’ button of the site you want to create a new board.
- In the Admin section, go to ‘Board’ and then ‘Add New Board’.
Alternatively, you can also click the ‘Add New Board’ button. - Add a title for the post.
- Add body content for the post. Click the ‘+’ button and find ‘Patterns’ Qtandard made for you for a sleek layout of your website.
- Click ‘Publish’ when ready.
How to create a new news
- Log in and go to ‘My Page’ and then find ‘Sites’.
- Click the ‘Admin↗’ button of the site you want to create a new news.
- In the Admin section, go to ‘News’ and then ‘Add New News’.
Alternatively, you can also click the ‘Add New News’ button. - Add a title for the post.
- Add body content for the post. Click the ‘+’ button and find ‘Patterns’ Qtandard made for you for a sleek layout of your website.
- Click ‘Publish’ when ready.
How to create a new portfolio
- Log in and go to ‘My Page’ and then find ‘Sites’.
- Click the ‘Admin↗’ button of the site you want to create a new portfolio.
- In the Admin section, go to ‘Portfolio’ and then ‘Add New Portfolio’.
Alternatively, you can also click the ‘Add New Portfolio’ button. - Add a title for the post.
- Add body content for the post. Click the ‘+’ button and find ‘Patterns’ Qtandard made for you for a sleek layout of your website.
- Click ‘Publish’ when ready.
How to create a new product
- Log in and go to ‘My Page’ and then find ‘Sites’.
- Click the ‘Admin↗’ button of the site you want to create a new product.
- In the Admin section, go to ‘Product’ and then ‘Add New Product’.
Alternatively, you can also click the ‘Add New Product’ button. - Add a title for the post.
- Add body content for the post. Click the ‘+’ button and find ‘Patterns’ Qtandard made for you for a sleek layout of your website.
- Click ‘Publish’ when ready.
Set a featured image
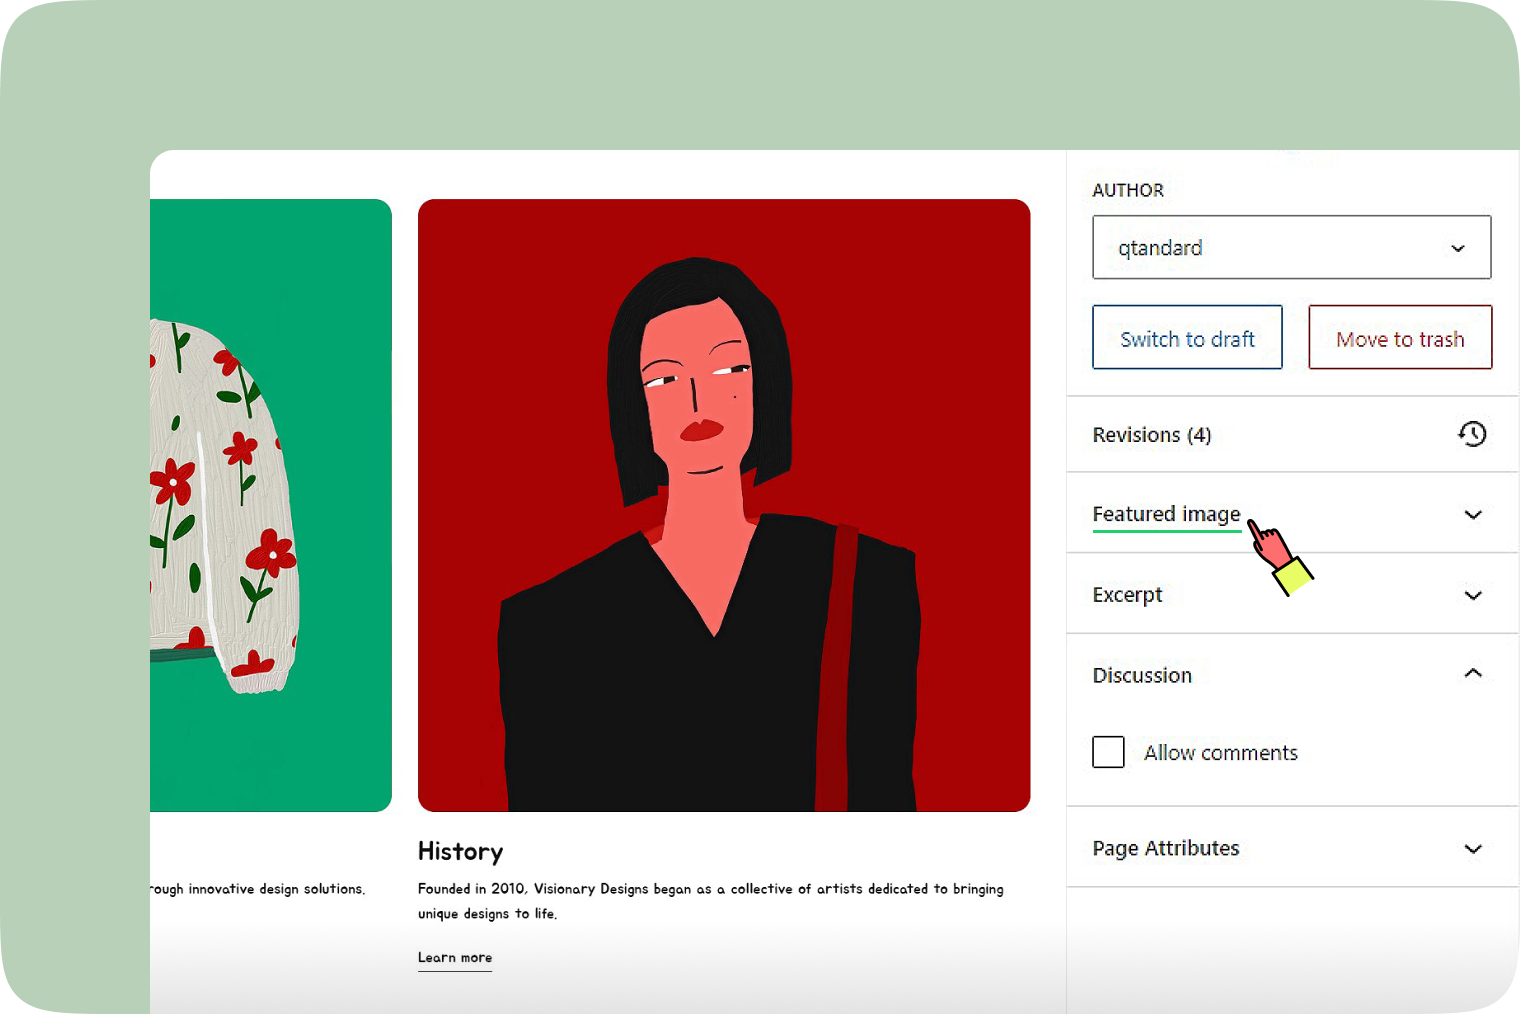
A featured image represents your pages or posts on your site and when shared on social media. To set one:
- Find the ‘Featured Image’ section in the right sidebar settings.
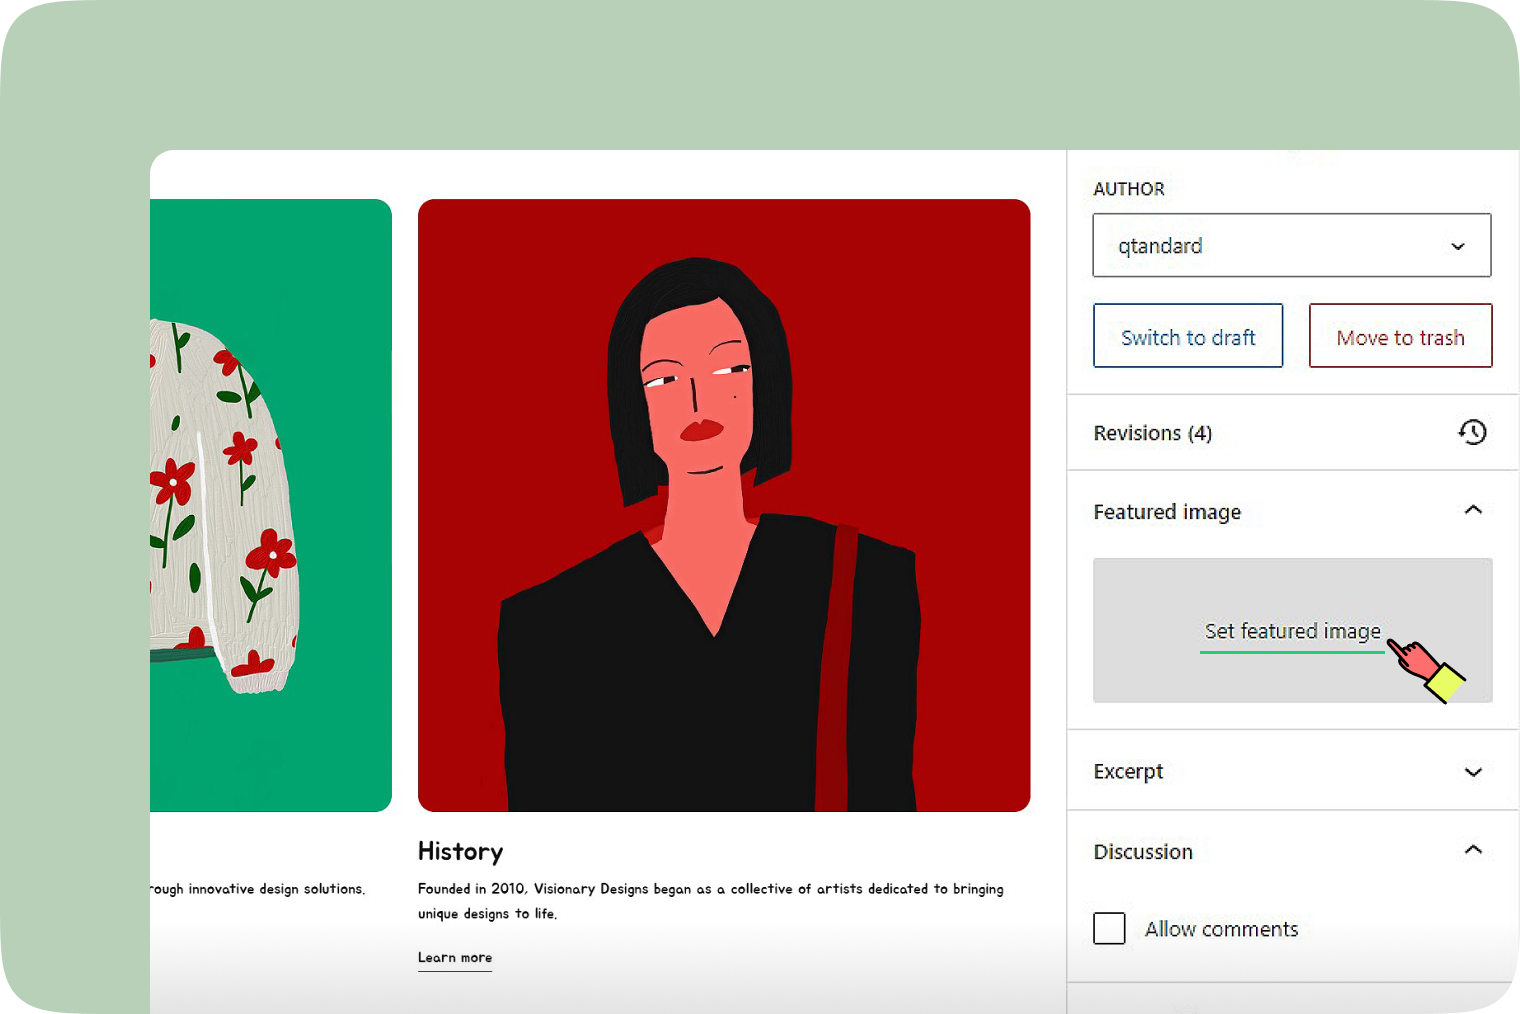
- Click on ‘Set featured image’. Select an image from your media library or upload a new one.
- After choosing the image, ensure you save your changes by clicking the ‘Update’ button at the top of the editor.
How to change the URL of posts
Using the Edit option
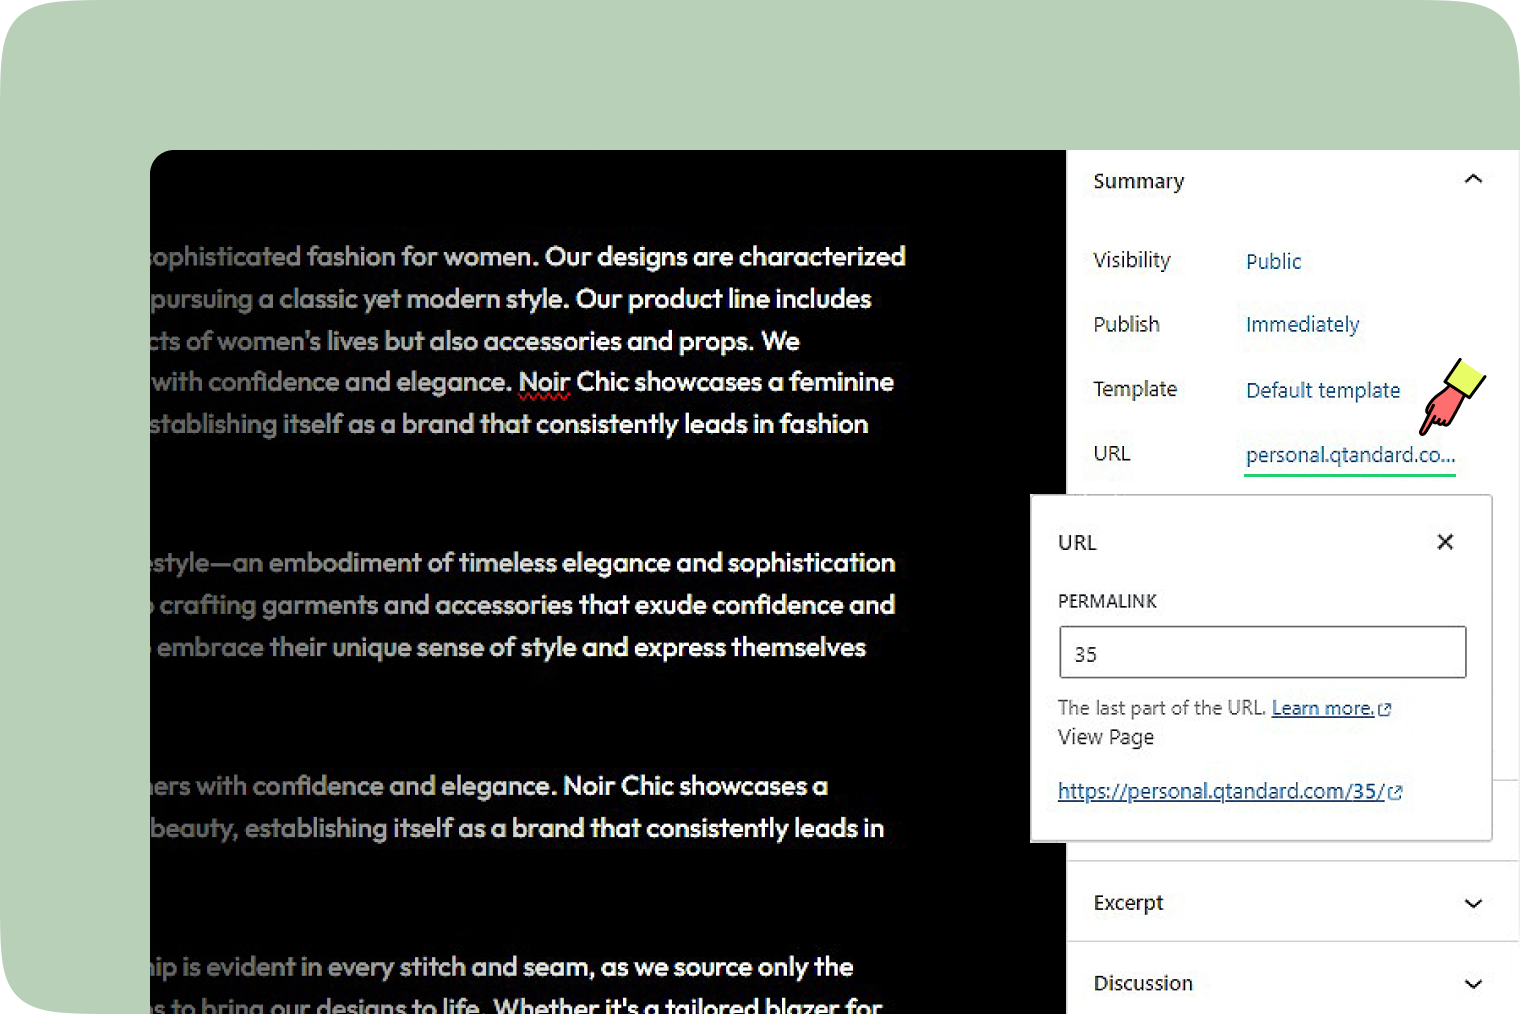
- To change the URL (also known as the “slug”), hover over the Post title and select ‘Edit’.
- In the post sidebar settings, under Summary, click the ‘URL link’ to open the URL popup. Change the Permalink entry to update the URL of the post.
- Type in a new URL in the Permalink field.
- Click the ‘Update’ button to save the changes.
Using the Quick Edit option
- To change the URL (also known as the “slug”), hover over the Post title and select ‘Quick Edit’.
- The Quick Edit panel allows you to modify post details such as Title, Slug and Date. You can also password-protect the post or mark it as Private. Additionally, you can change the categories of the post.
- Click the ‘Update’ button to save the changes.
How to set post visibility
To adjust the visibility of your page, find the ‘Visibility’ option in the Blog tab on the right side of the page.
By default, posts and pages are set to Public. This means the content will be visible to everyone as soon as it’s published.
Click the edit link next to ‘Visibility: Public’ in the Publish options to see more visibility settings.
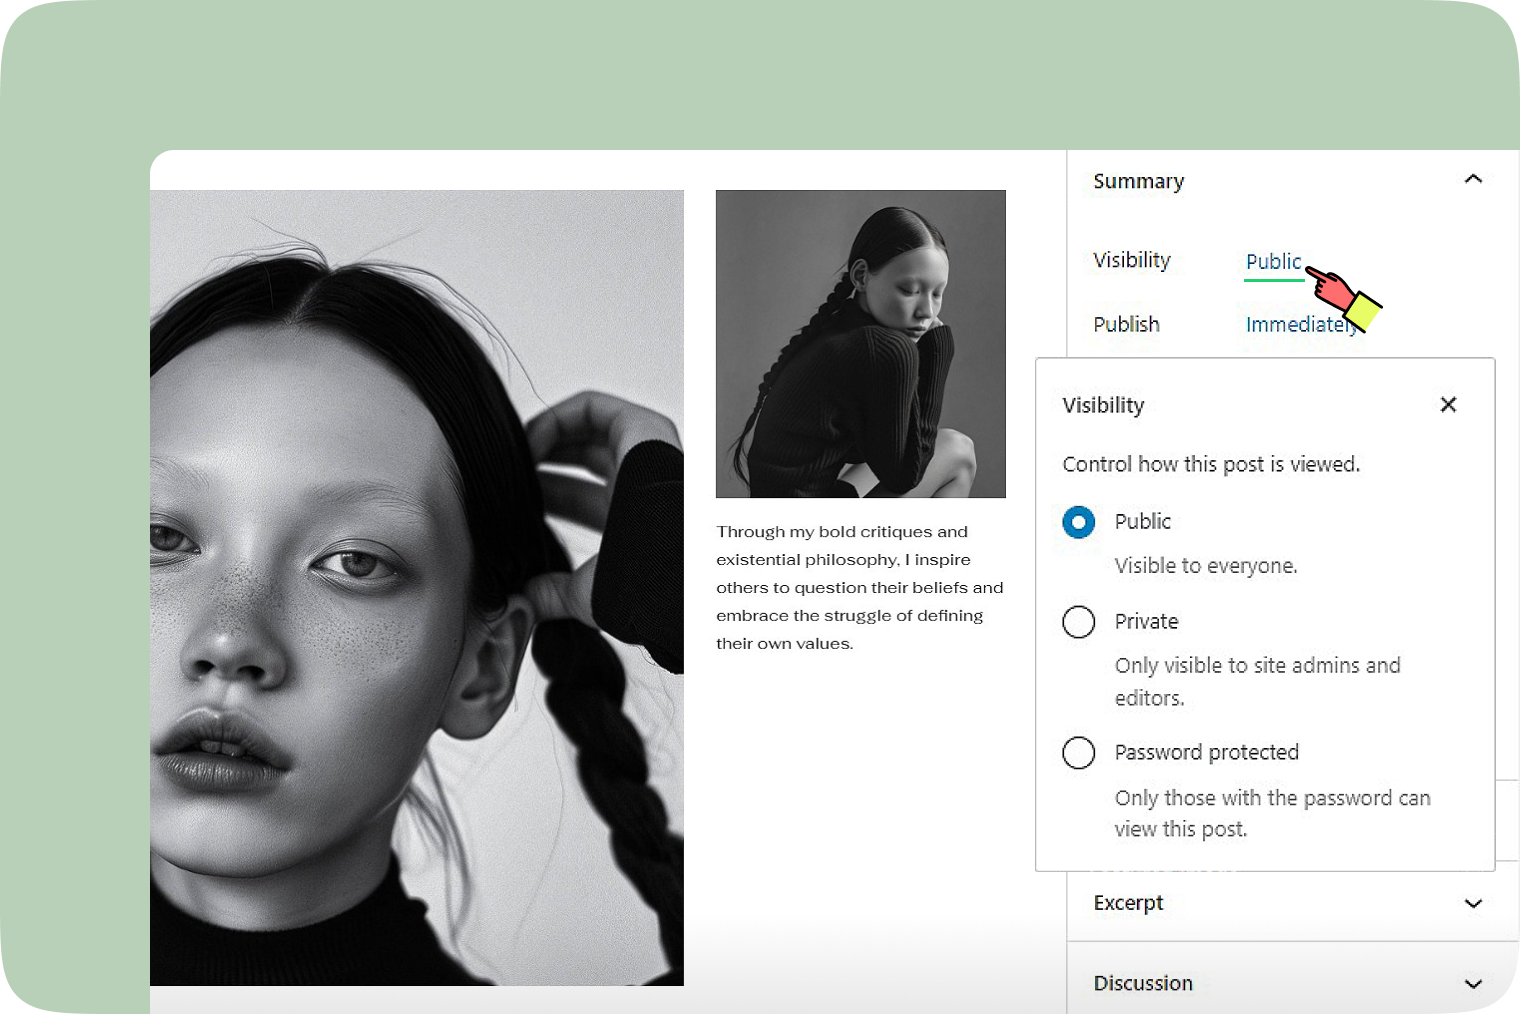
The options include:
- Public: The default setting, viewable to everyone.
- Private: This option hides the content from the public entirely.
- Password Protected: Selecting this option and clicking ‘OK’ will prompt a text box where you can enter a password.
How to delete a post
Using the Edit option
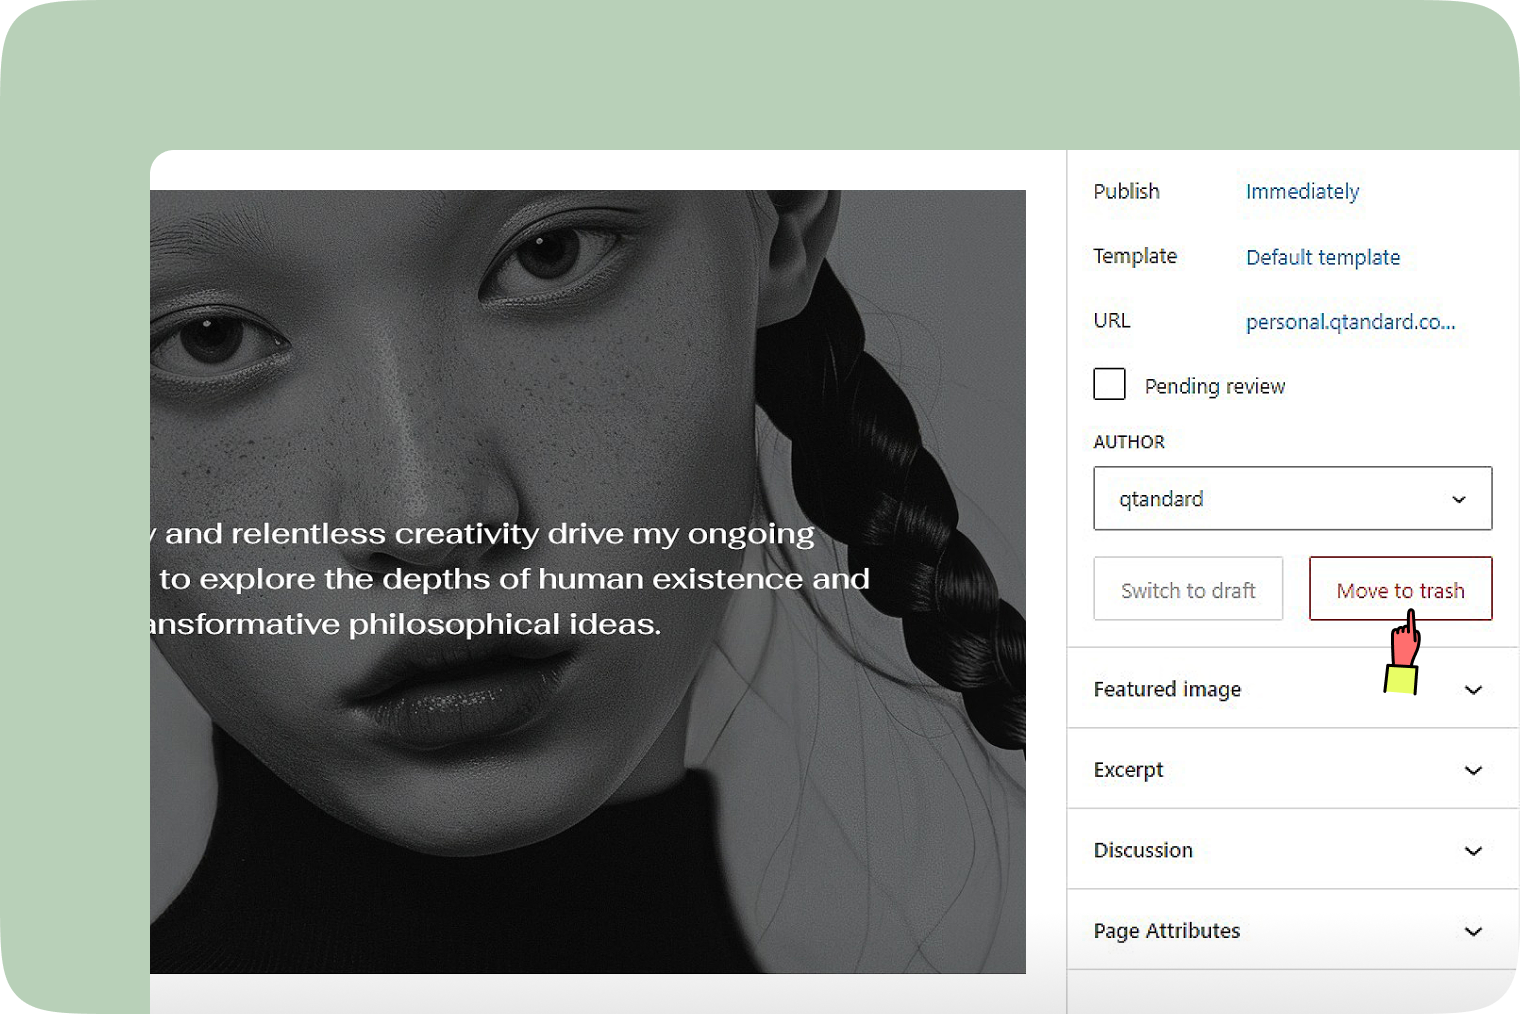
- To delete the post, hover over the post title and select ‘Edit’.
- In the post sidebar settings, under ‘URL’, click the ‘Move to trash’
- Once moved to the trash, the post is immediately relocated to the trash folder. You can find it in the ‘Trash’ tab.
- In the ‘Trash’ tab, hover over the post title to choose either ‘Restore’ to bring the post back or ‘Delete Permanently’ to remove it for good.

Using the Quick Edit option
- To delete the post, hover over the post title and select ‘Trash’.
- Once moved to the trash, the post is immediately relocated to the trash folder. You can find it in the ‘Trash’ tab.
- In the ‘Trash’ tab, hover over the post title to choose either ‘Restore’ to bring the post back or ‘Delete Permanently’ to remove it for good.