Site admin dashboard
The admin dashboard is your personal control center, designed to make managing and customizing your website a breeze.
How to access the dashoboard
Using toolbar in the header
Toolbar has links to various administration functions, and is displayed at the top of page.
- Once logging in, you’ll see the admin toolbar at the top of the page.
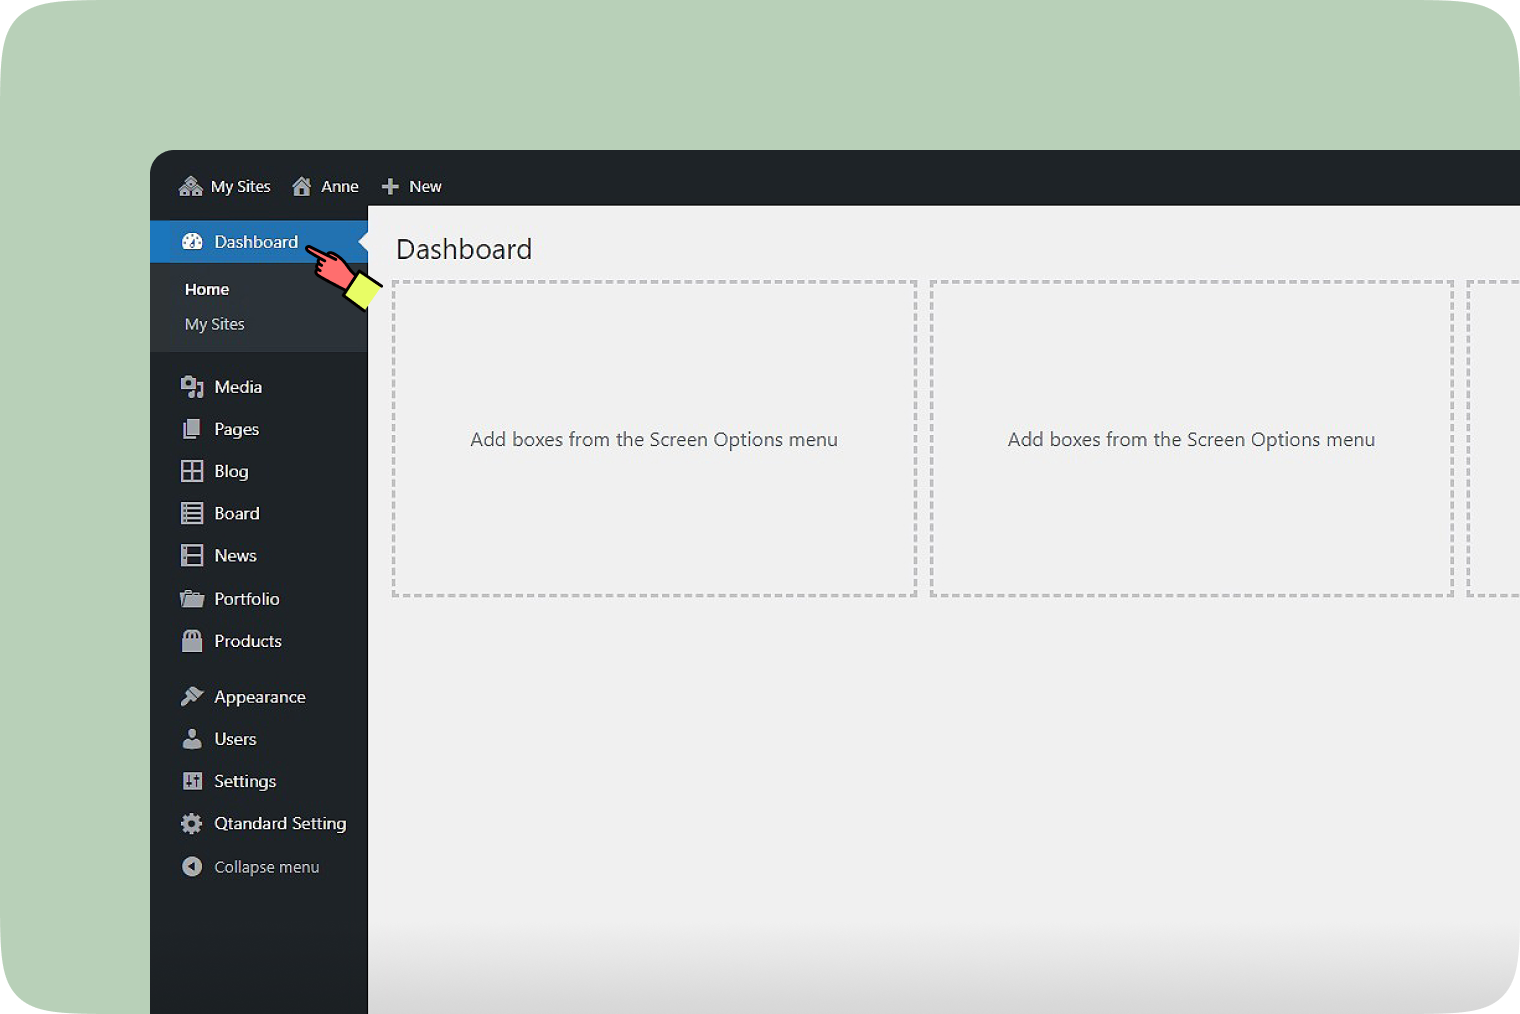
- Click ‘My Sites’ and select the site you want to access the dashboard for.
Through ‘My Page’
- After logging in, Go to ‘My Page’ and then to ‘Sites’.
- Click the ‘Admin↗’ button of the site you want to access the dashboard for.
Dashboard layout
Each administration screen is presented in sections: the toolbar, the main navigation, and the work area.
- Toolbar: Provides links to access the sites and create new content, displayed at the top of each administration screen.
- To hide the toolbar, go to ‘Users’ > ‘Profile’ and turn off ‘Show Toolbar when viewing site’.
- Main navigation: This menu details each administrative function you can perform. At the bottom of this section is a ‘Collapse’ button that shrinks the menu into a set of icons or expands it to list them by major function. Within each major function, such as Posts, the sub-menu expands when hovered over and fully expands if an item is clicked.
- Work area: Displays specific information related to a particular navigation choice, such as adding a new post or opening the customizer.
Visit site link
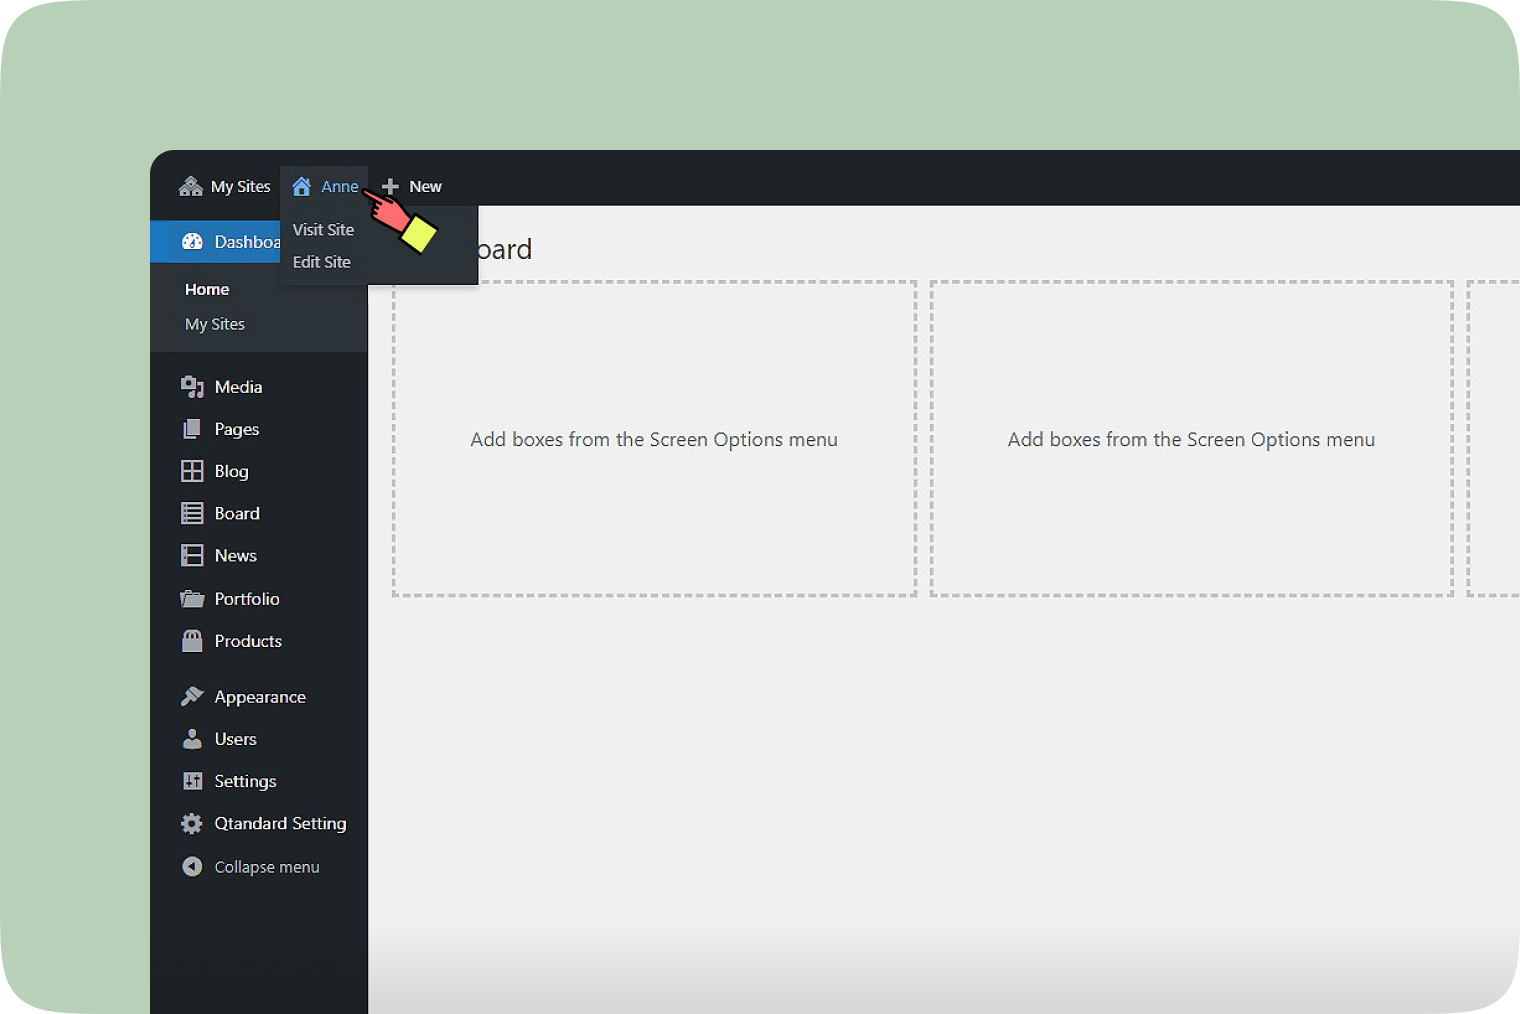
In the toolbar, to the right of ‘My Sites’, your site name is displayed as a link. Hover over the site name to see the ‘View Site’ link to visit the main page of your site.
Howdy, User
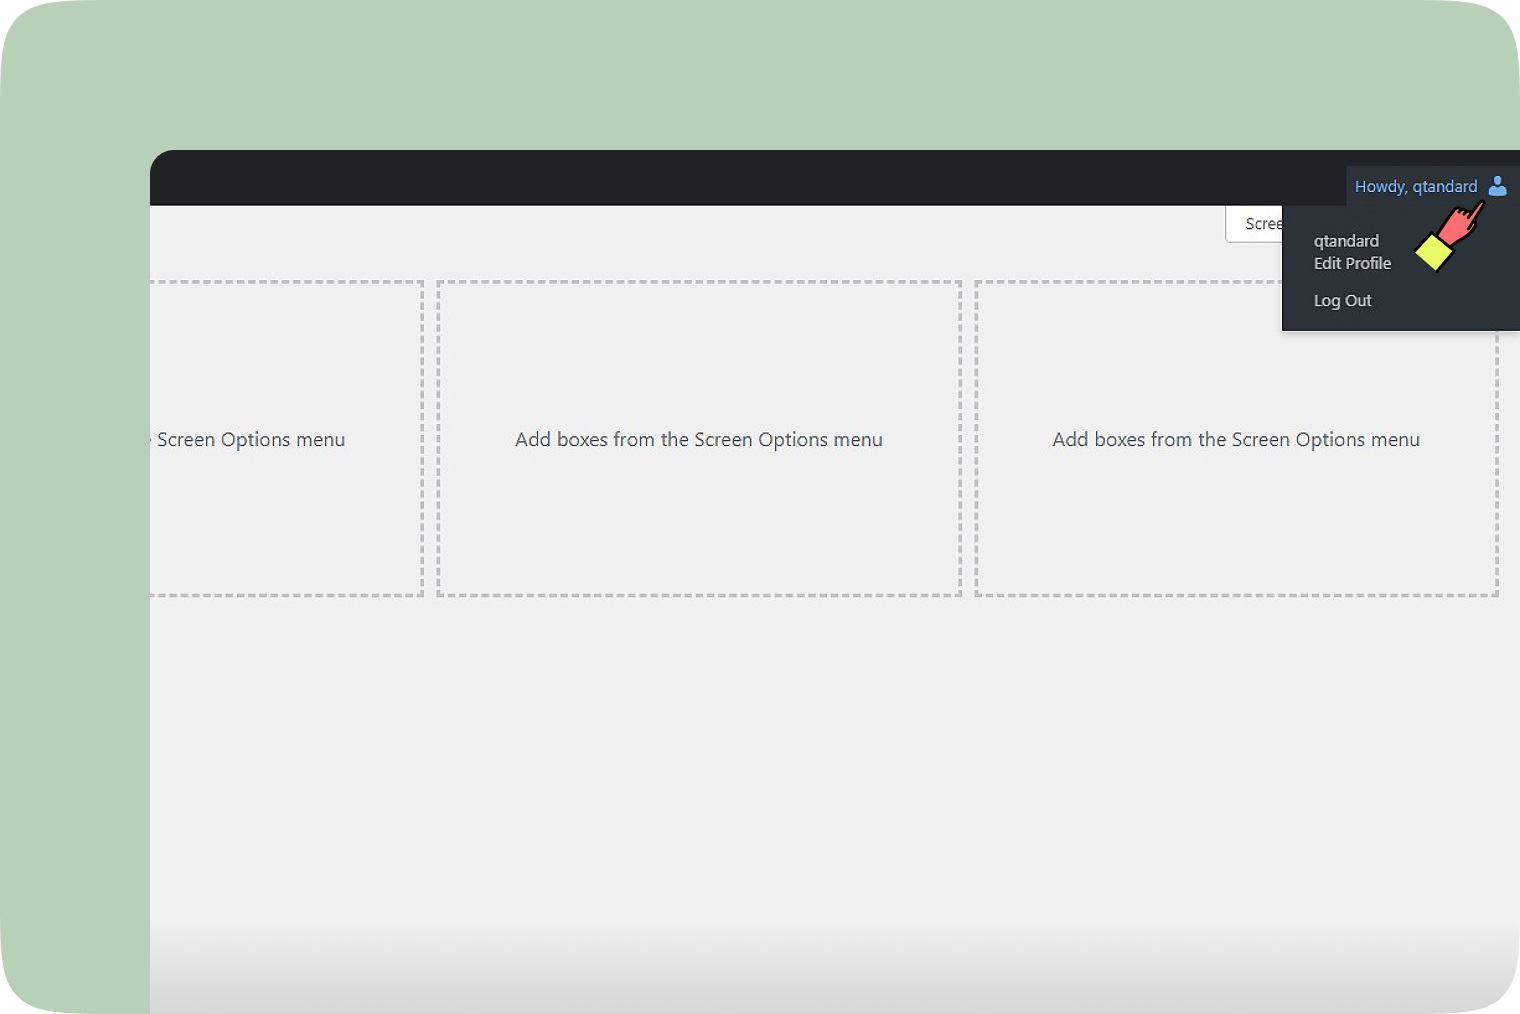
On the far right of the toolbar is ‘Howdy, User’, with an image of your Gravatar. When hovered over, this expands to link you to your profile screen and a log-out link.
Security and cookies
Qtandard, powered by WordPress, stores a cookie in your web browser when you log in. This cookie allows Qtandard to remember who you are, so if you leave your site and return later, you won’t need to log in again.
💡 Tips
If you have a WordPress cookie set in your web browser, anyone using your computer can access the dashboard of your site. If you don’t want this to happen (especially on a public computer), click the ‘Log Out’ link, and WordPress will delete the cookie from your web browser.
Media
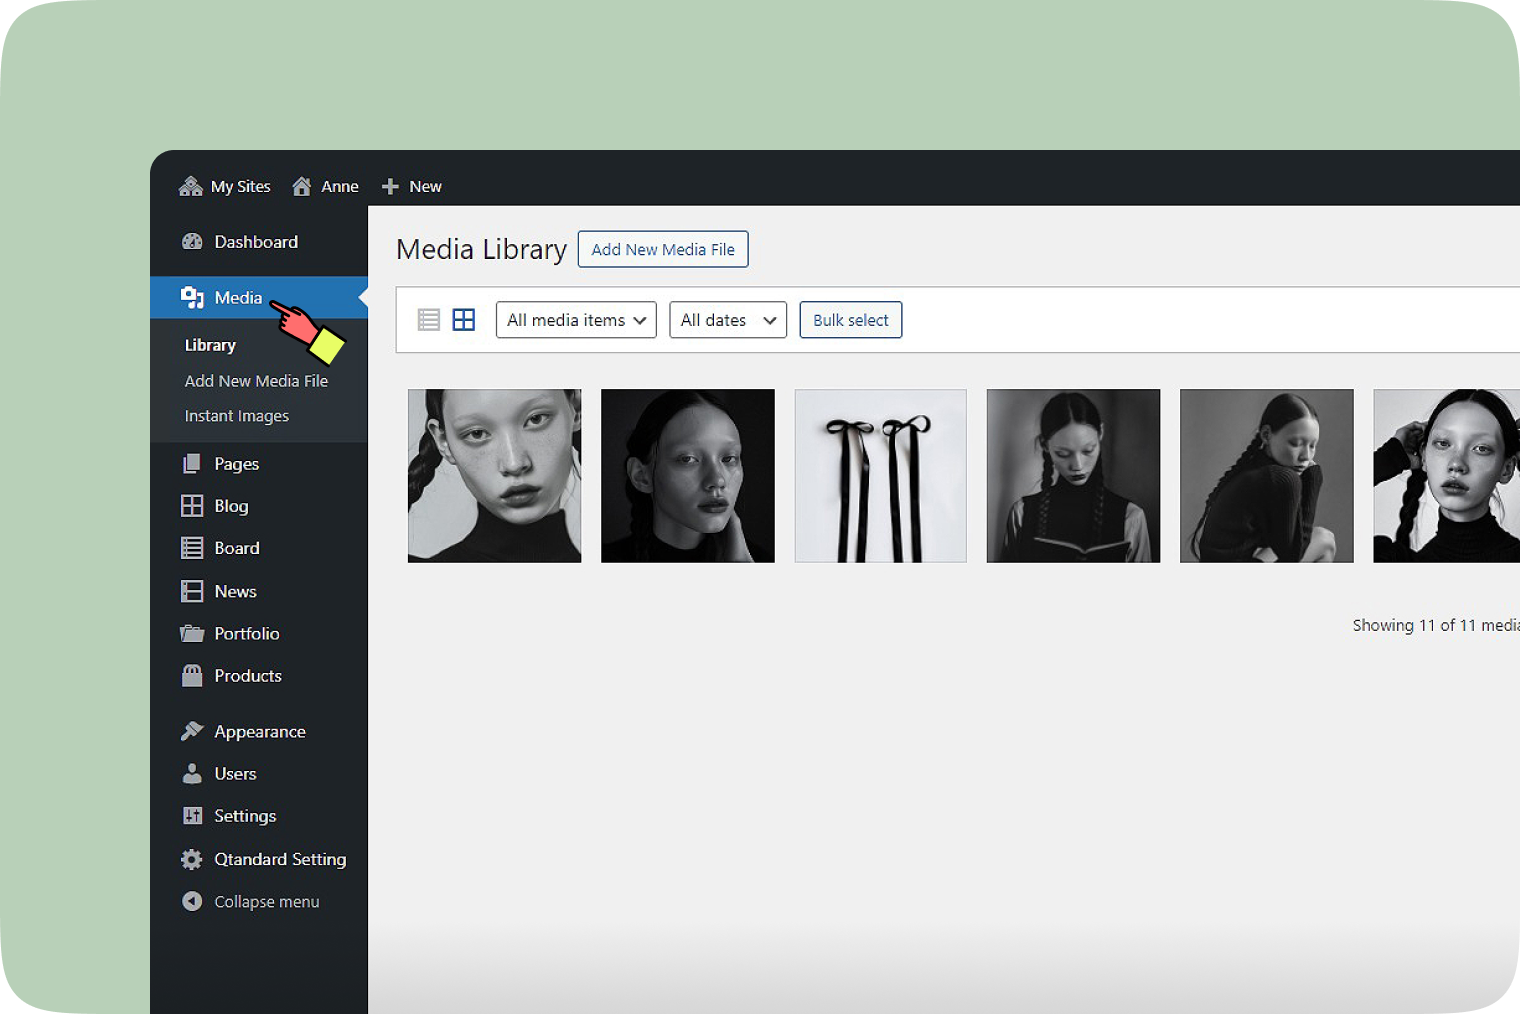
- Library: Allows you to add, edit, delete, or view media previously uploaded to your content. Multiple media objects can be selected for deletion. Search and filtering options are provided to help you find the desired media.
- Add new media file: Allows you to upload new media to use later with posts and pages. A drag-and-drop uploader and a browser uploader button are provided.
- Instant images: Easily upload images to your media library with one click from Unsplash, Openverse, Pixabay, and Pexels. Open the media library and find the ‘Instant Images‘ tab for quick access.
Pages

- All pages: The ‘All Pages’ screen provides tools to edit, delete, or view existing pages. You can select multiple pages for deletion or editing.
- Add new page: Allows you to create new pages.
Blog
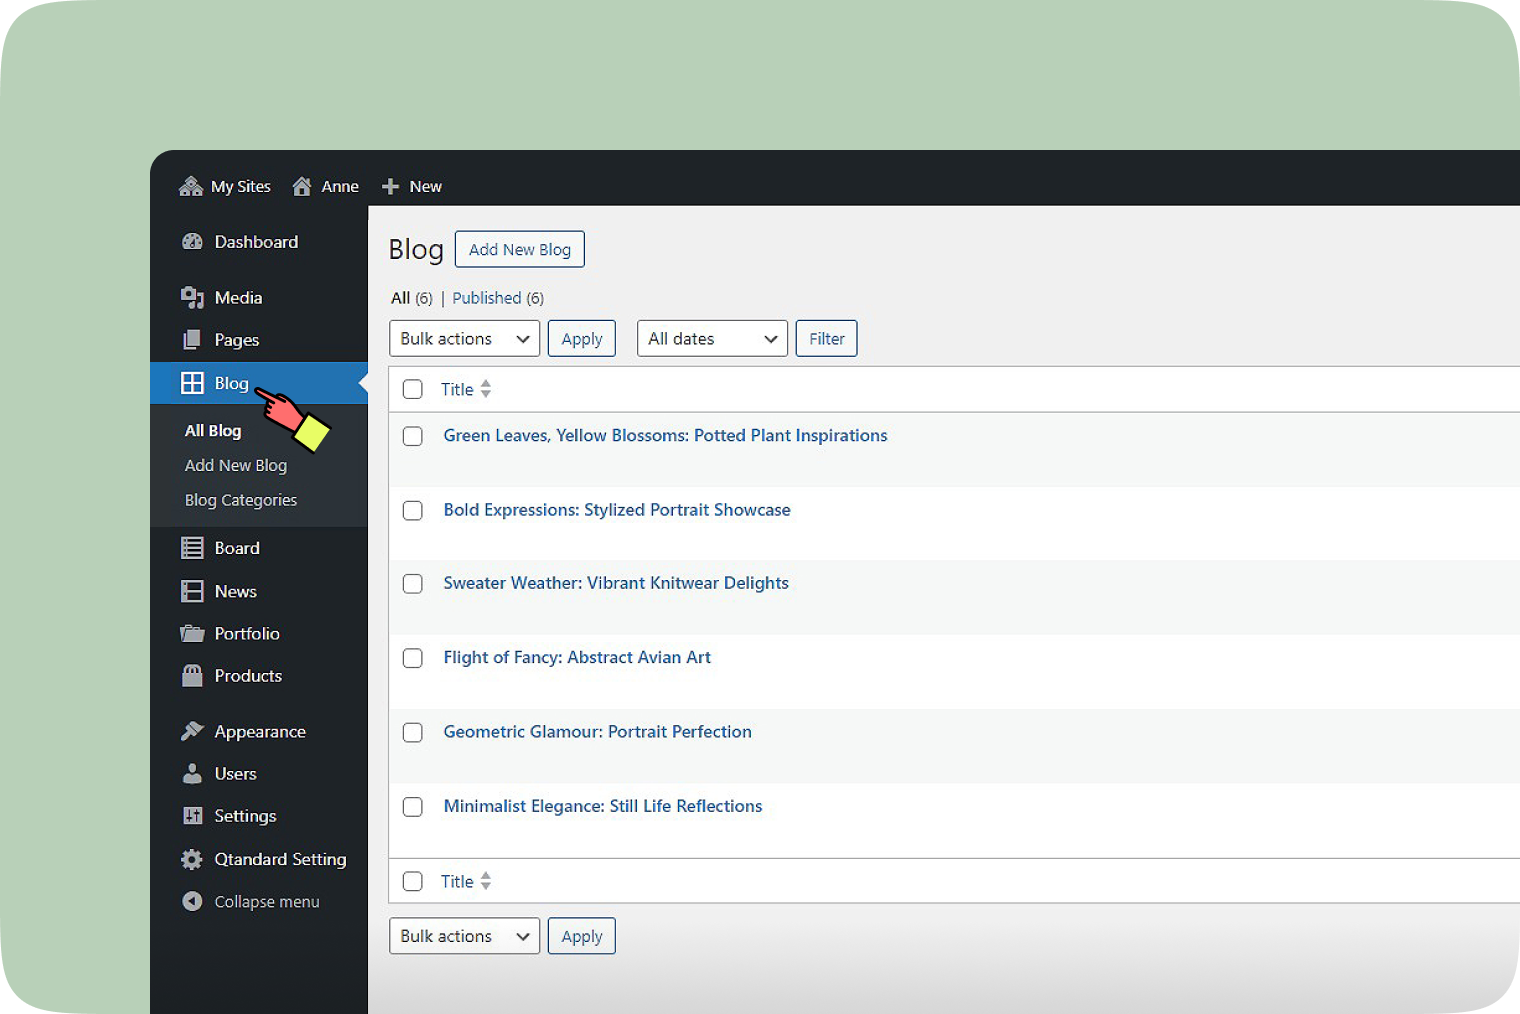
- All blog: View and manage all your blog posts.
- Add new blog: Allows you to create new blog posts.
- Blog categories: Categories allow you to classify your blogs into groups and subgroups, aiding navigation. Each category may be assigned to a parent category to set up a hierarchy.
Board
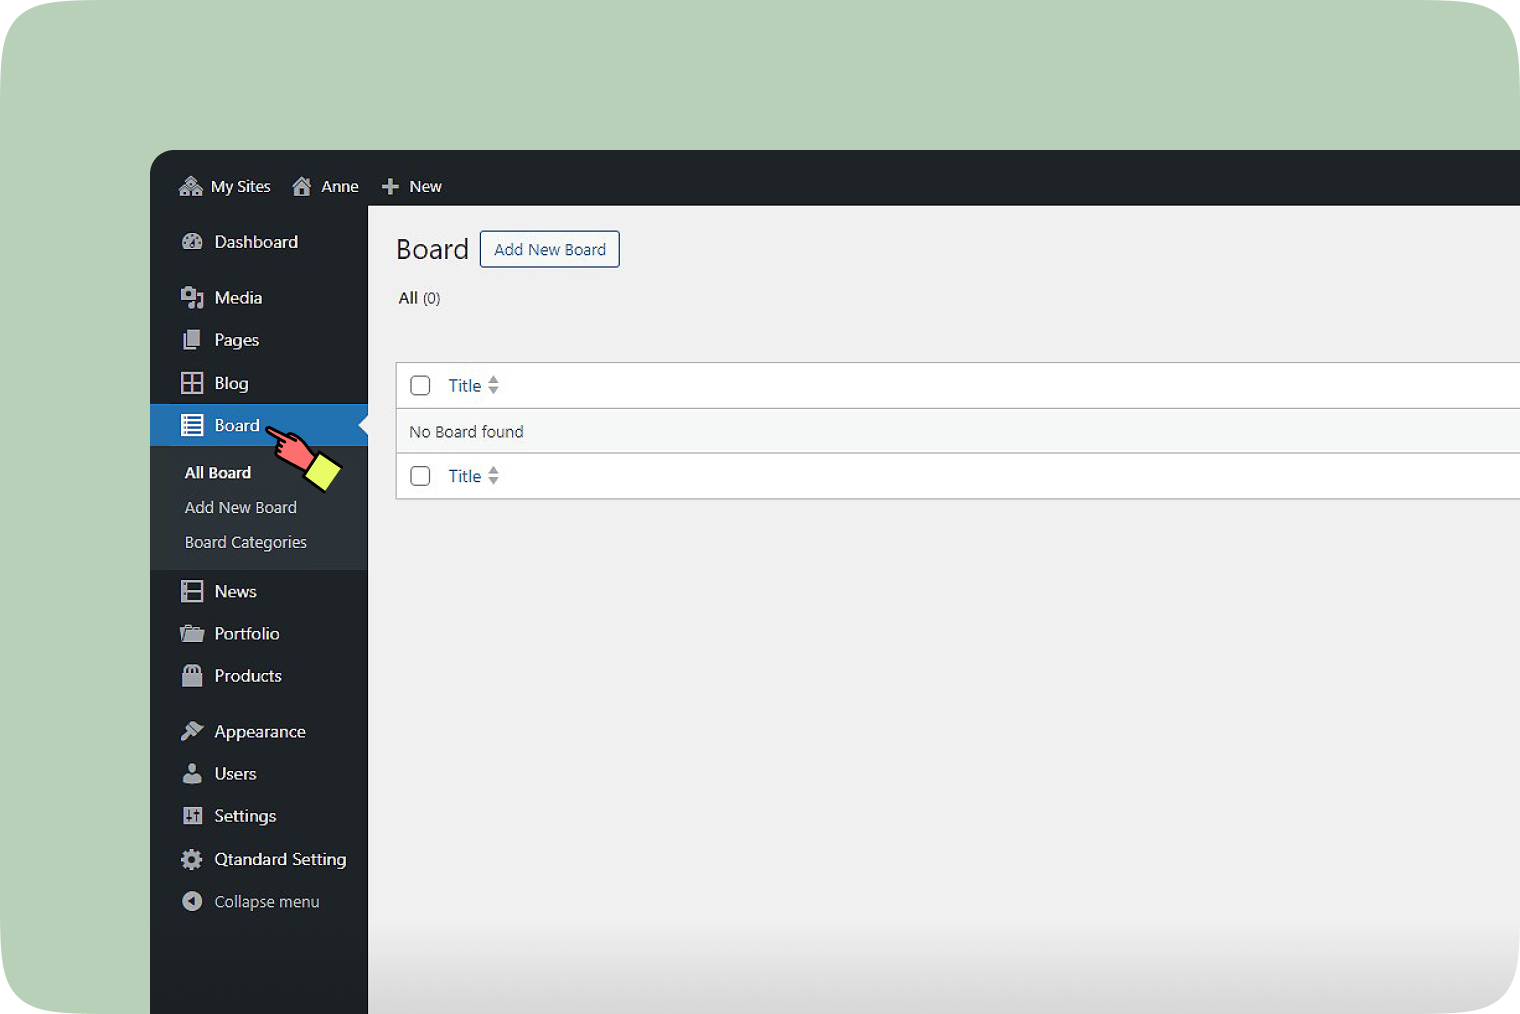
- All board: View and manage all your boards.
- Add new board: Allows you to create new boards.
- Board categories: Categories allow you to classify your boards into groups and subgroups, aiding navigation. Each category may be assigned to a parent category to set up a hierarchy.
News
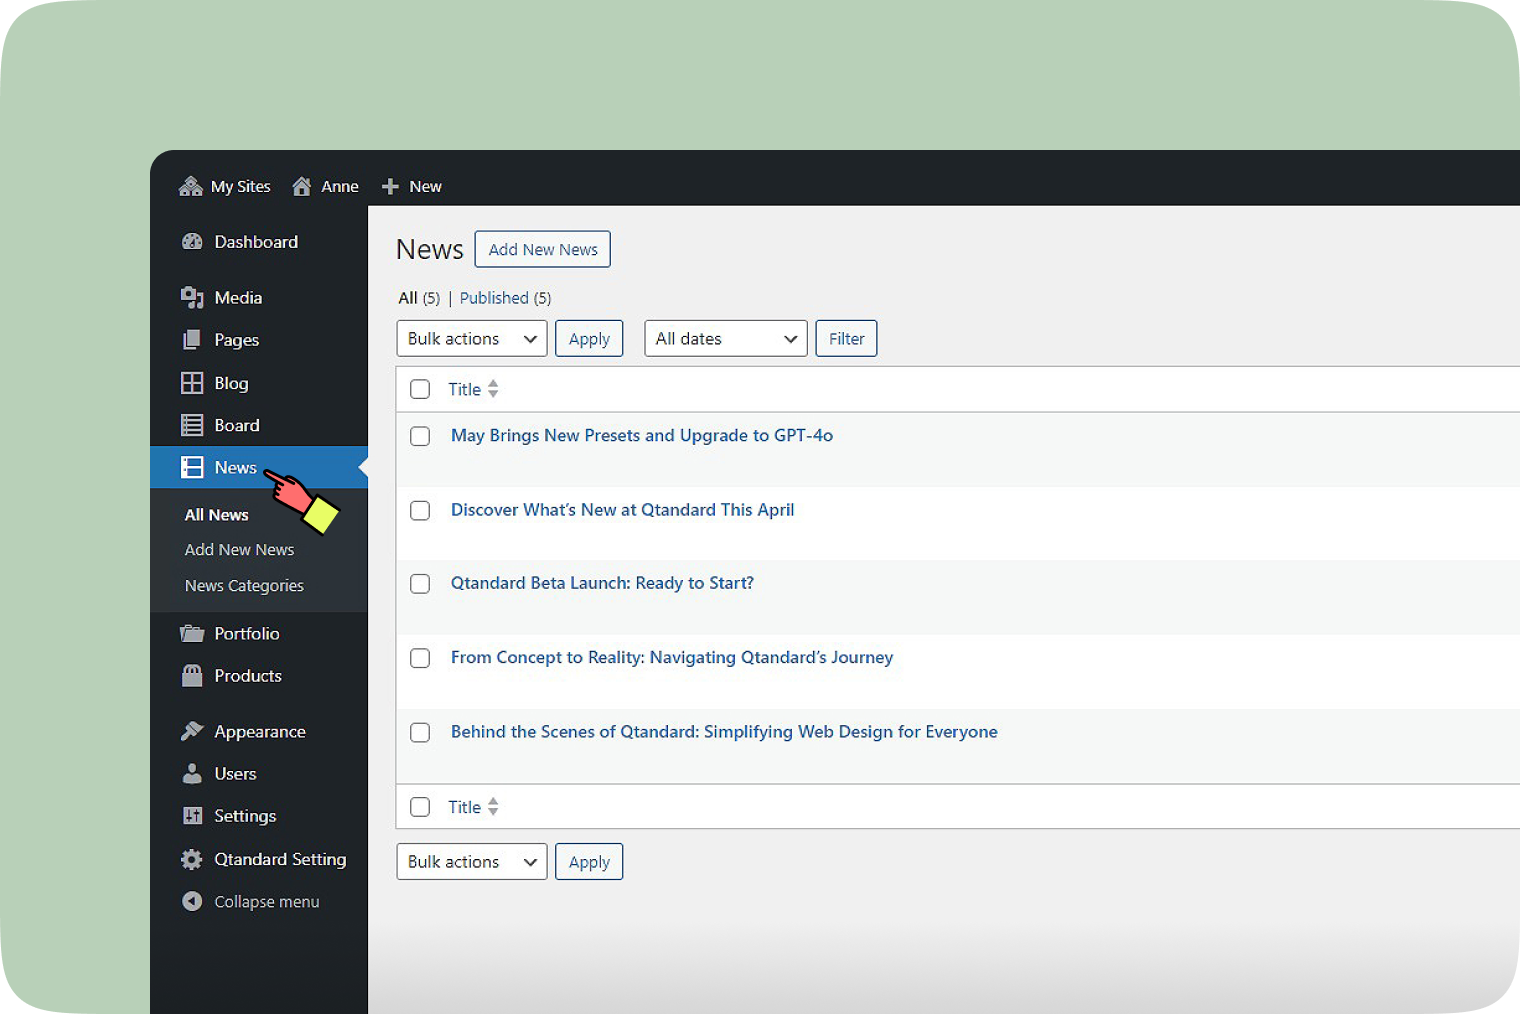
- All news: View and manage all your news articles.
- Add new news: Allows you to create new news articles.
- News categories: Categories allow you to classify your news into groups and subgroups, aiding navigation. Each category may be assigned to a parent category to set up a hierarchy.
Portfolio
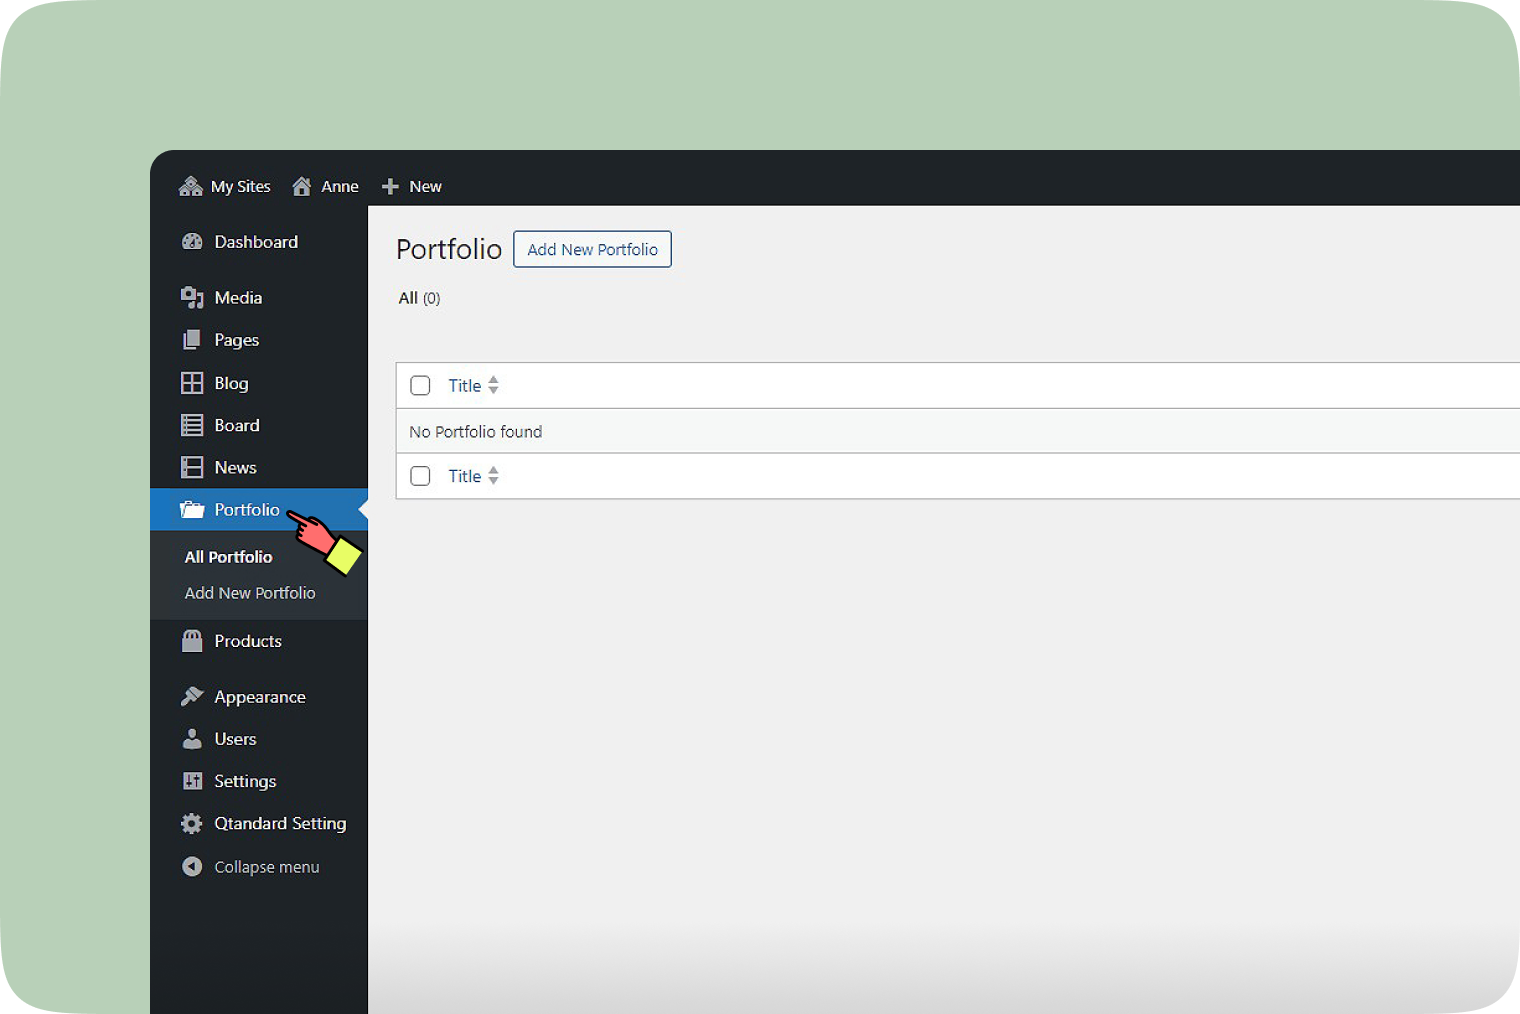
- All portfolio: View and manage all your portfolio items.
- Add new portfolio: Allows you to create new portfolio items.
Products
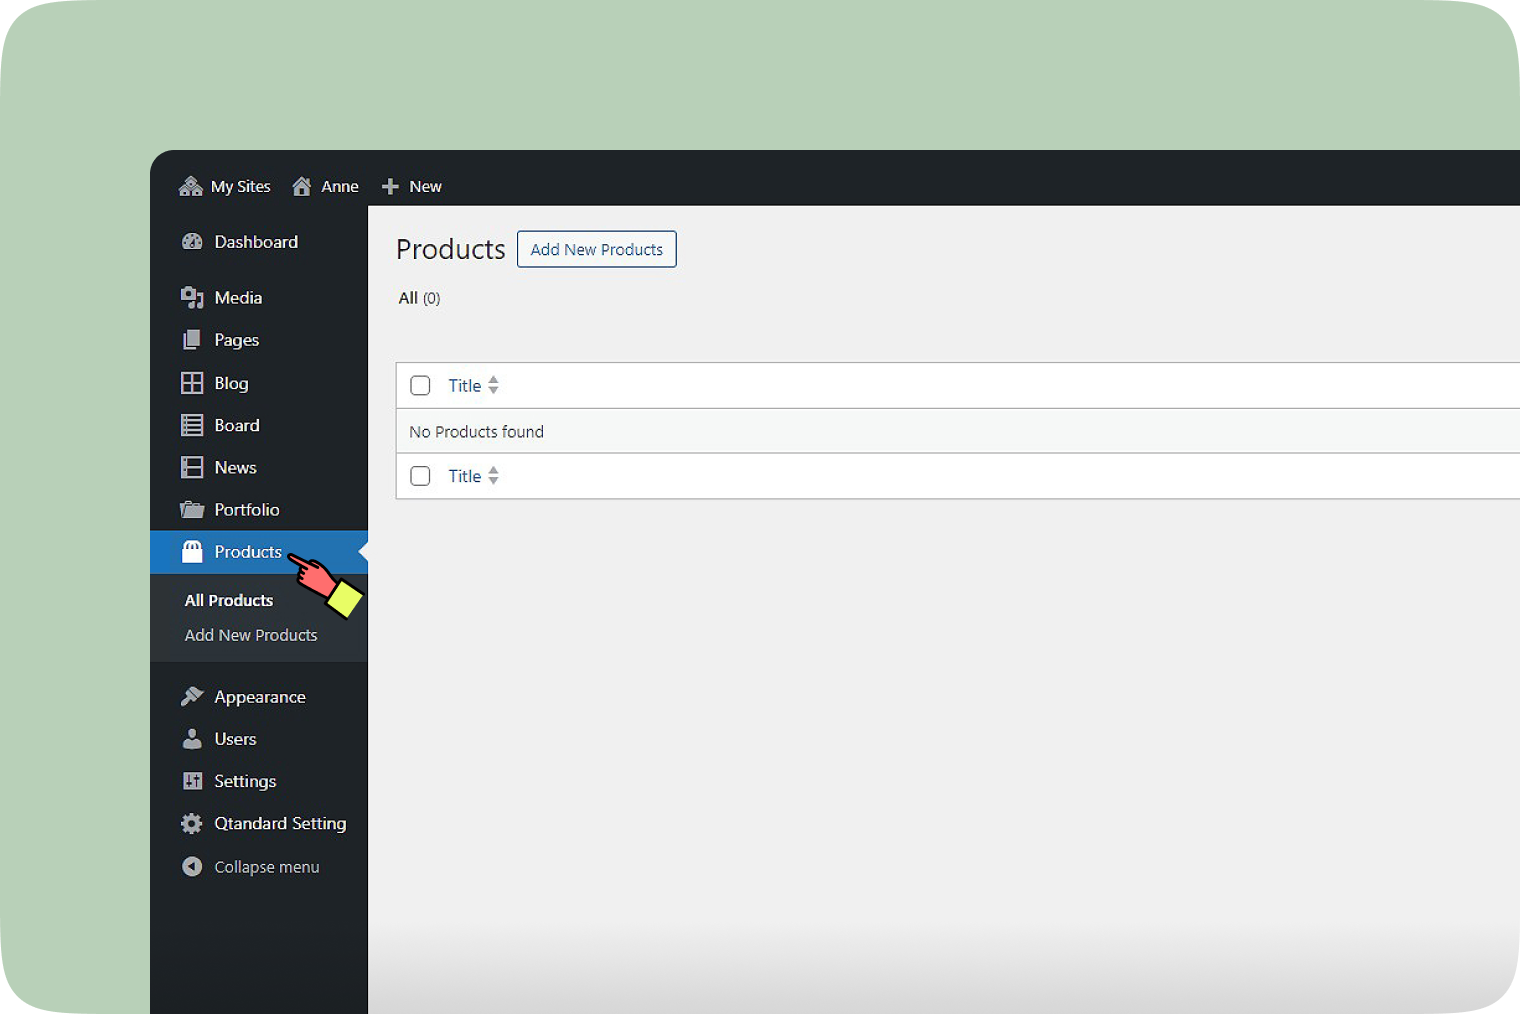
- All Products: View and manage all your products.
- Add new products: Allows you to create new products.
Appearance
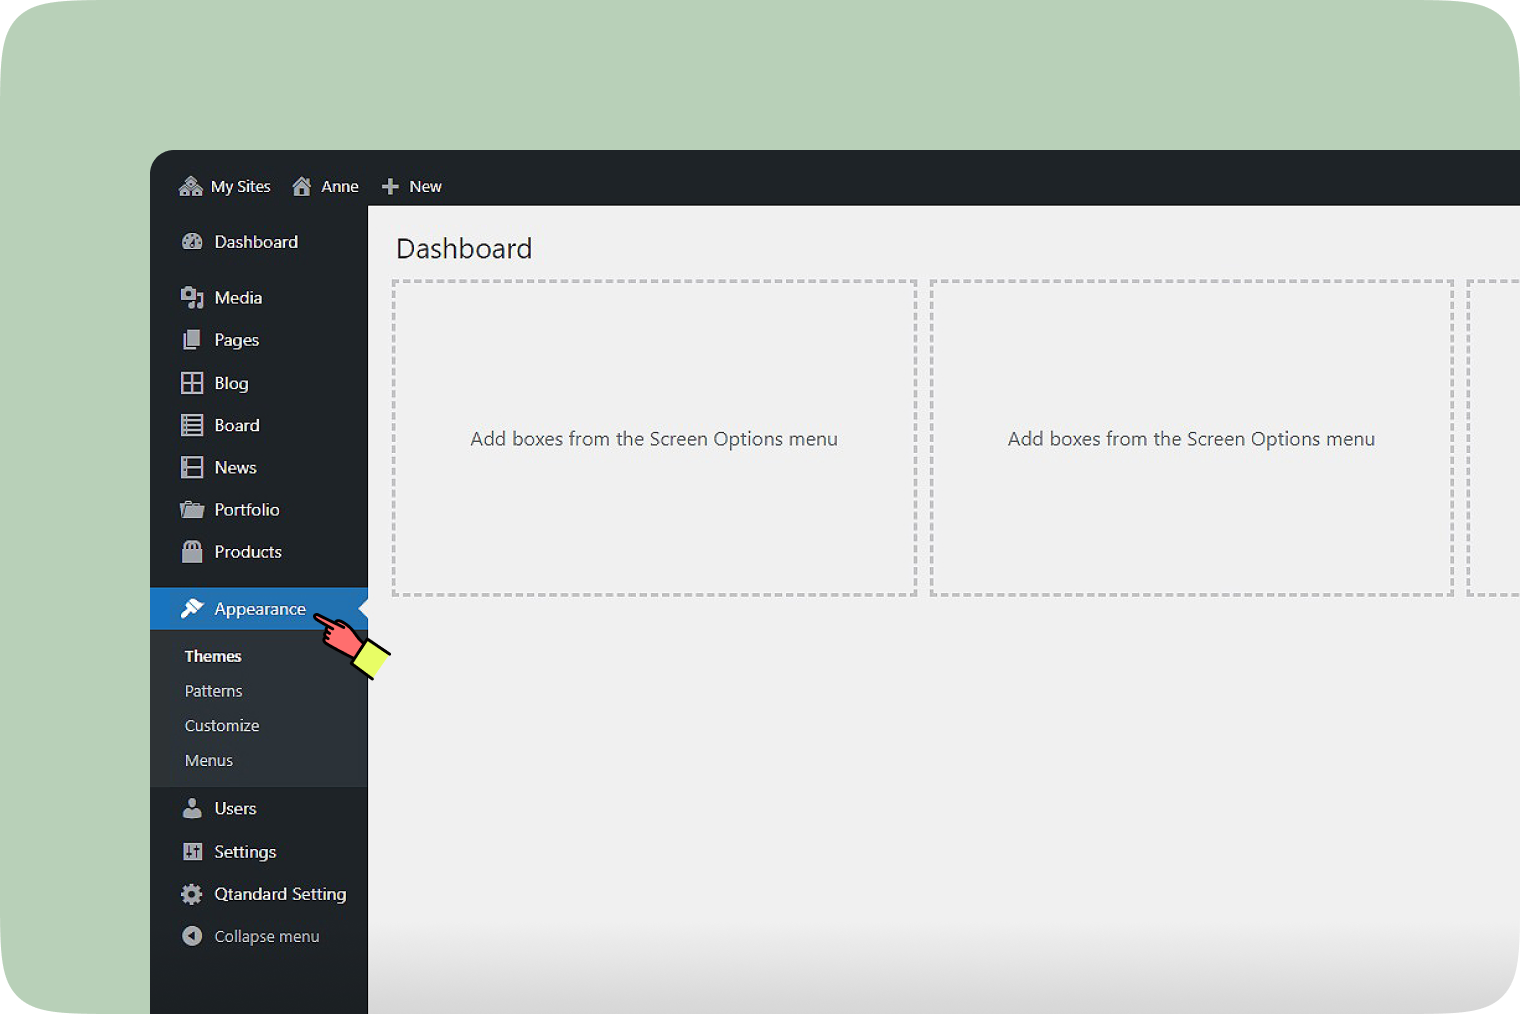
- Themes: Explore the themes Qtandard offers.
- Patterns: Import from JSON or add new patterns for your content layout.
- Customize: Adjust the settings to customize your site.
- Menus: Create navigation menus of pages, categories, and custom links.
Users
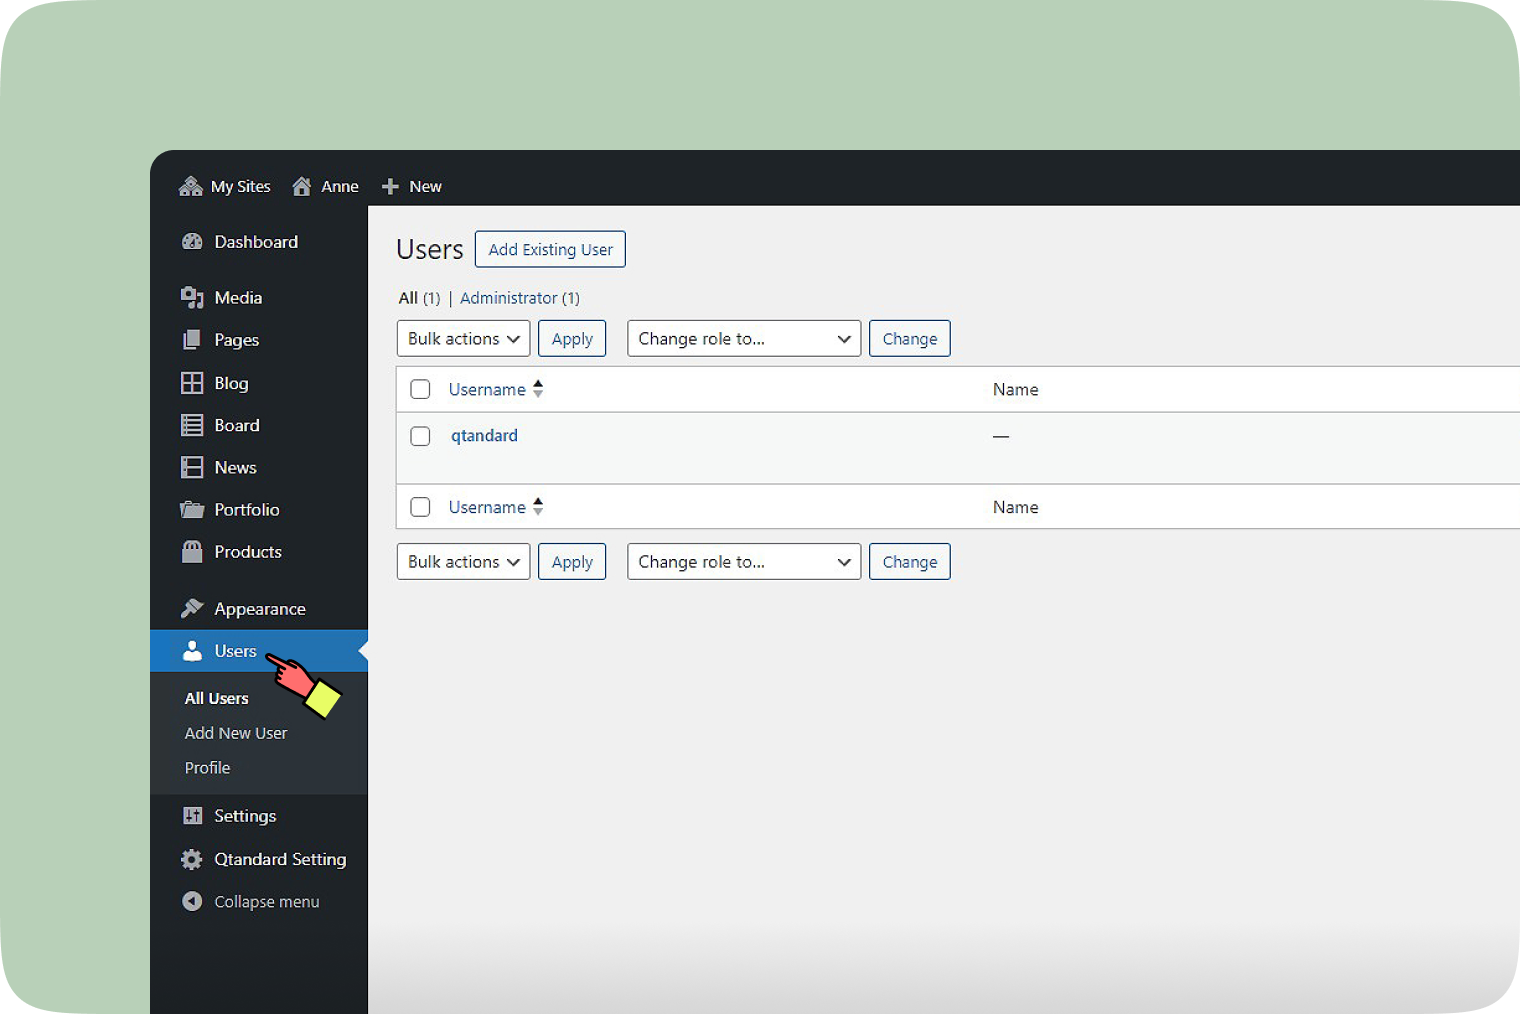
- All user: Manage all your site’s users.
- Add new user: Add new users to your website.
- Profile: Change any information related to your user account.
Settings
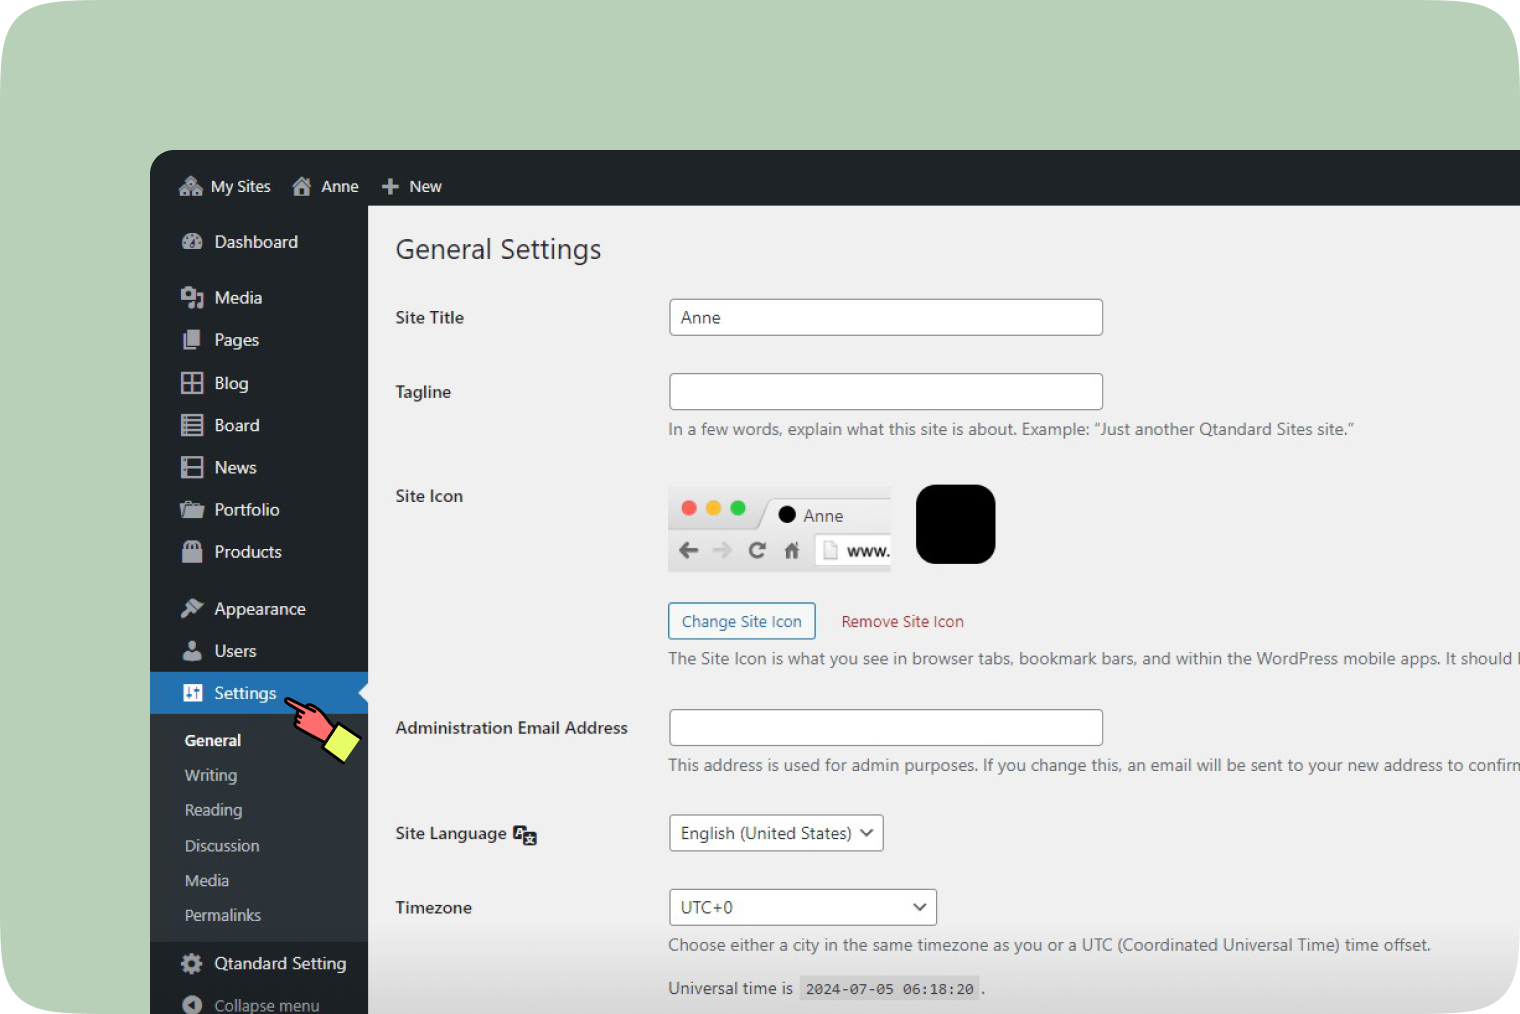
- General: Define your site’s title, tagline, icon, admin email address, language, timezone, date format, and start of the week.
- Writing: Set default post category and format.
- Reading: Adjust the main page and posts displayed, and configure syndication feed settings.
- Discussion: Control settings for comments, pingbacks, and trackbacks. Decide if your blog should show avatars.
- Media: Organize images, documents, and other media files, and specify maximum dimensions for images.
- Permalinks: Create a custom URL structure for your permalinks and archives to improve aesthetics and usability.
Qtandard setting
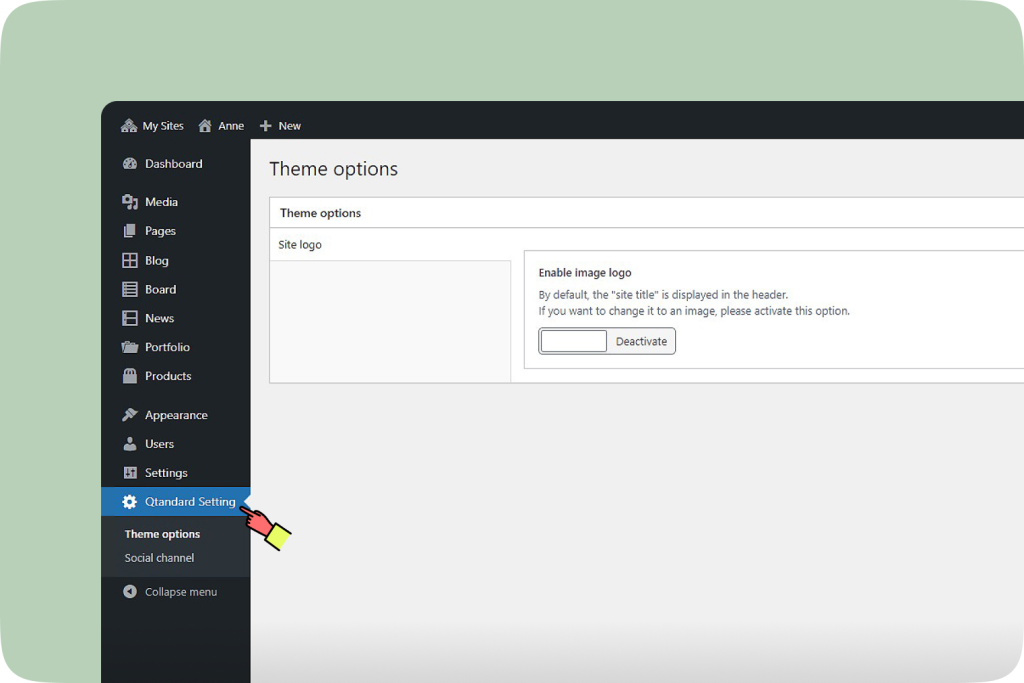
- Theme Options: Enable image logos. By default, the site title is displayed in the header. Activate this option to change it to an image.
- Social Channels: Enter your SNS channel address to display a direct link in the footer.